Are you tired of looking at plain, boring walls in your garage? Want to turn that dull space into a vibrant and inspiring area? Look no further than installing murals in your garage! This simple yet impactful solution can transform your garage into a unique, personalized space that reflects your style and interests.
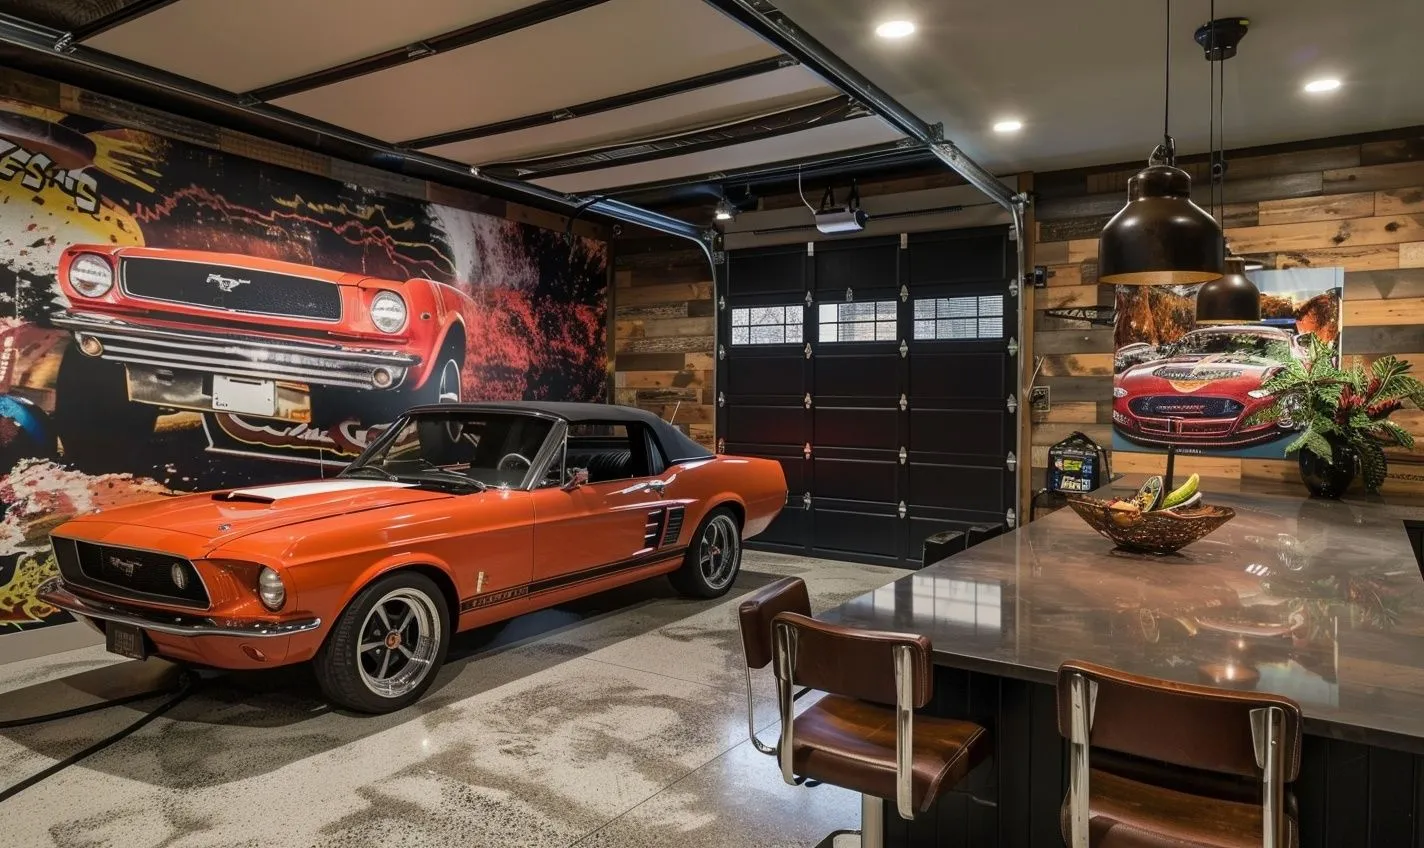
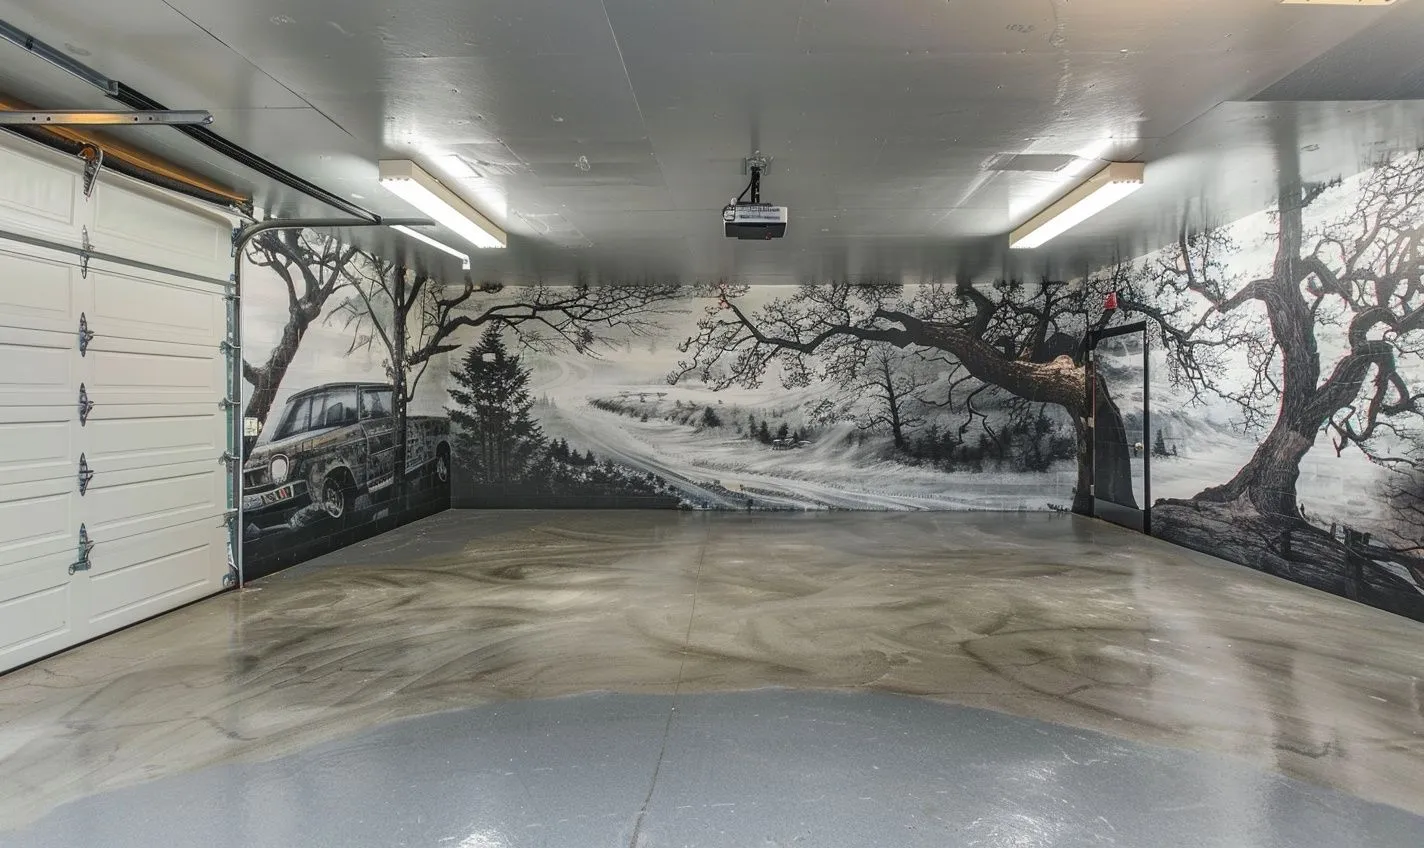
Murals are an excellent way to add character and personality to your garage. Whether you’re a car enthusiast looking to showcase your passion for automobiles or a nature lover wanting to bring the outdoors inside, a mural design suits every taste and style. The possibilities are truly endless when it comes to customizing your garage walls with murals.
Installing murals in your garage is a relatively easy and cost-effective way to upgrade the look of your space. With a wide range of designs and sizes, you can easily find a mural that fits your garage’s modernizations and complements its overall aesthetic. Whether you opt for a whole mural or a smaller accent piece, the impact on your garage’s beauty will be significant.
Choosing the Right Wall Mural Design
When installing murals in your garage, selecting the perfect design is crucial. Your garage is not just a space for your vehicles; it’s an extension of your personality and style. Here to choose the ideal mural design:
Consider Your Hobbies and Interests
Think about what makes you tick. Whether you are an enthusiast, a sports fan, or a nature lover, pick a design that resonates with your passions. The mural should uplift your spirits every time you step into your garage.
Reflect on the Space
Take into account the size and layout of your garage. Opting for a lighter-colored mural can make it feel more spacious if it is a smaller space. On the other hand, a more oversized garage can accommodate a bold and vibrant design that makes a statement.
Coordinate with the Overall Theme
Ensure that the mural complements the existing décor of your garage. From vintage vibes to modern aesthetics, harmonize the mural with the overall ambiance to create a cohesive look.
Are you feeling overwhelmed by the multitude of options available? Take a deep breath and visualize how each design would transform your garage. Remember, this is your space, so let your creativity flow!
Prepping Your Garage Wall for Installation
So you have the perfect mural design for your garage—now it is to prepare your space for installation. Preparing your garage wall is crucial in ensuring a smooth and successful outcome. Let’s explore some essential tips and tricks to help you get started!
Clearing the Space
First, declutter your garage and clear where you plan to install the mural. Remove any obstacles, tools, or items that may get in the way during installation. A clean slate will make the job easier and more efficient.
Inspecting the Wall
Take a close look at the condition of your garage wall. Ensure it is clean, smooth, and free of dust, dirt, or grease. Repair any cracks, holes, or imperfections before proceeding with the installation. A well-prepped surface will help the mural adhere properly and last longer.
Gathering the Right Tools and Materials
Before you begin, ensure you have all the necessary tools and materials. Here are some essential items you will need:
– Mural
– PaiPainter’spe
– Level
– Squeegee or smoothing tool
– Utility knife
– Cleaning supplies
Priming the Wall
Depending on the type of mural you’ve chosen, you may need to prime the wall beforehand. Priming can help the adhesive bond better with the surface and ensure a seamless application. Follow the manufacturer’s instructions for the type of mural you selected.
By adequately prepping your garage wall, you can set yourself up for a successful installation process and enjoy a stunning result that will transform your space. Ready to bring your vision to life? LetLet’st started!
Tools and Materials Needed
When transforming dull garage walls into captivating works of art with murals, having the right tools and materials is critical. Before you embark on this exciting project, ensure you have the following essentials ready:
Essential Tools:
- Measuring tape
- Pencil
- Straight edge or level
- Box cutter or utility knife
- Paint roller or brush
- Step ladder
- Squeegee or smoothing tool
Materials Required:
- Mural of your choice
- Cleaner or degreaser
- Primer
- Adhesive or paste
- Optional: Sealant or clear coat for protection
With these tools and materials in hand, you’re set to begin the exhilarating process of installing a magnificent mural in your garage. Remember, the right equipment makes your job easier and ensures a professional finish that will leave you in awe.
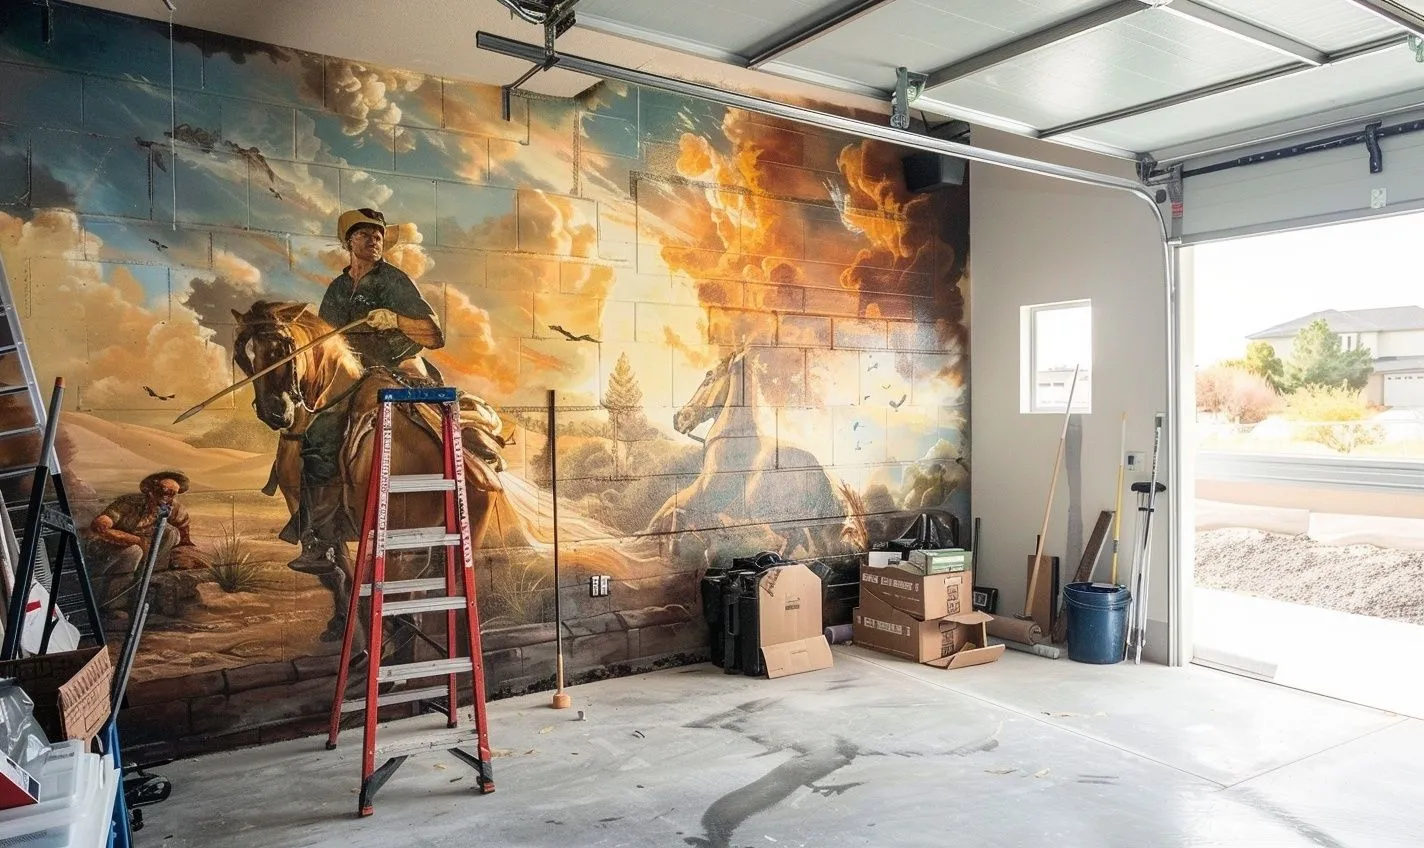
Step-by-Step Installation Guide
So, you’ve chosen the perfect mural for your garage, prepped the wall surface, and gathered all the necessary tools and materials. Now, it’s time to dive into the installation process. Follow these simple steps to bring your garage wall to life with a stunning mural:
Clean the Wall Surface
Before beginning the installation, ensure your garage wall is clean and free of dust or debris that could affect the mural’s adhesion.
Start from the Center
Begin by finding the center of your wall and marking it. This will help you ensure that the mural is evenly positioned and aligned.
Peel and Stick
Slowly peel off the mural’s backing, starting from the top, and carefully stick it to the wall. Use a squeegee to smooth out any air bubbles as you go.
Cut Excess Material
Use a sharp utility knife to trim any excess material from the edges of the mural for a clean and precise finish.
Overlap for Seamless Design
If your mural comes in multiple panels, slightly overlap the edges to create a seamless design and ensure the patterns align perfectly.
Seal the Edges
After the mural is in place, seal the edges with a clear sealant to protect the edges from peeling and ensure long-lasting durability.
And there you have it! By following these steps, you can transform your garage wall with a stunning mural that reflects your unique style and personality.
Ensuring Proper Alignment and Placement
So, you’ve chosen the perfect mural design, prepped your garage wall, gathered all the necessary tools and materials, and you’re ready to start the installation process. But wait, before you dive in, let’s talk about the crucial step of ensuring proper alignment and placement of your mural. Here are some tips to help you get it just right:
Measure Twice, Stick Once
Take the time to measure the wall and the mural carefully. Ensure the mural is centered and level before sticking it to the wall. In the long run, a few extra minutes spent on measuring can save you from a crooked or off-center mural.
Use a Level and a Pencil
Before applying the mural, use a level to ensure it is straight. Mark the edges lightly with a pencil to serve as a guide during the installation process. This simple step can make a difference in achieving a professional-looking result.
Start from the Center
Begin applying the mural from the center and work your way outwards. This method helps prevent wrinkles, bubbles, or misalignment and allows you to adjust the placement without causing damage or wasting time.
And remember, the process of installing murals in your garage should be a fun and creative experience. Don’t it – take your time and enjoy bringing your vision to life on your garage walls.
Adding Personal Touches to Your Garage
You chose the perfect mural design, prepped your garage wall, gathered all the necessary tools and materials, and followed the step-by-step installation guide. Your garage is starting to look pretty fabulous with that stunning mural. But wait, you can do more to make your garage unique and personalized.
Customizing Your Wall Mural:
Now that the central installation is done, it’s time to add those personal touches to make your garage stand out. Here are some ideas to help you infuse your personality into your garage wall decor:
- Add custom text or quotes that inspire you
- Incorporate your favorite colors or patterns
- Showcase your hobbies or interests through additional decals or stickers
Creating a Theme:
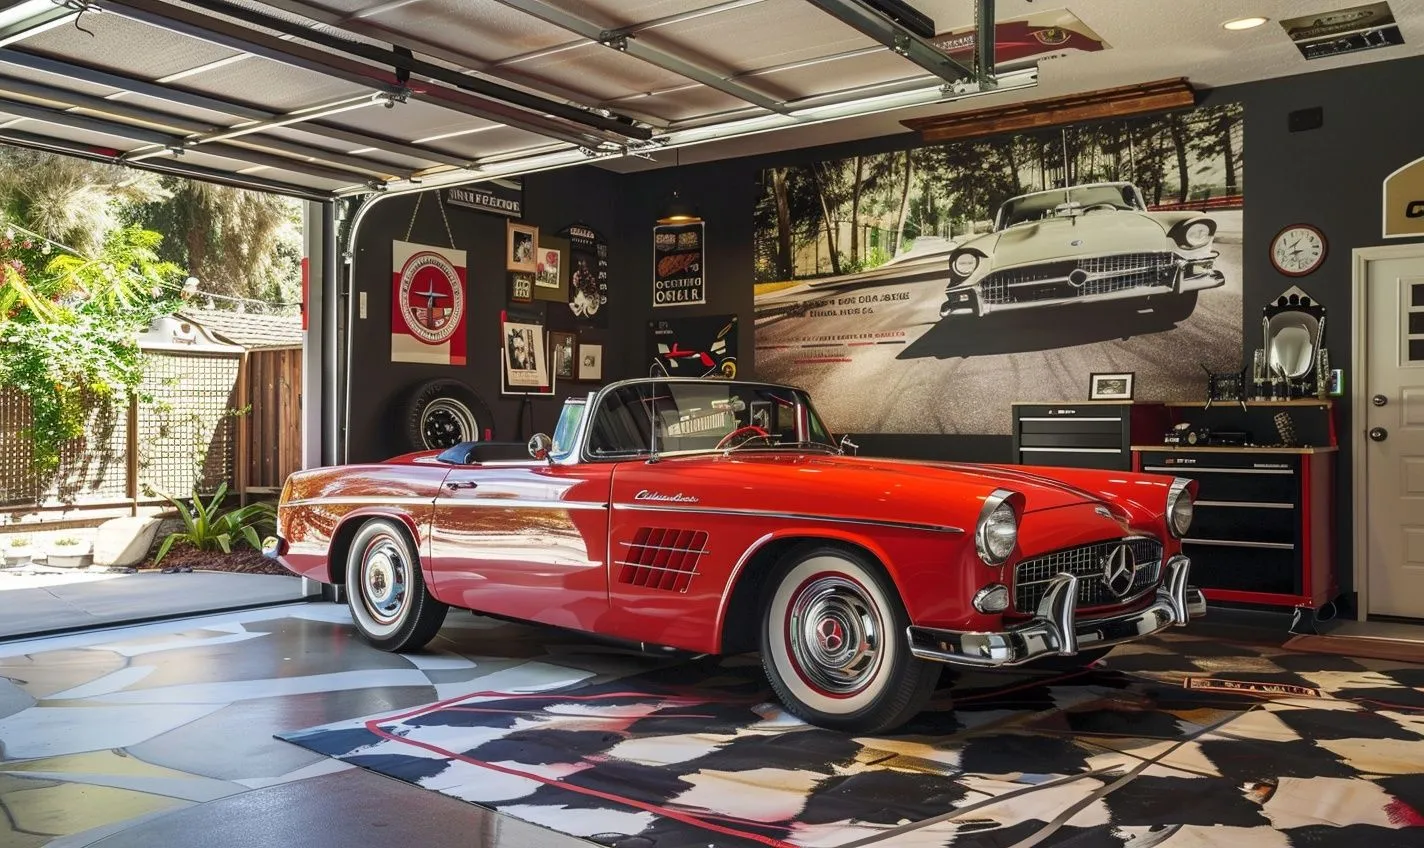
Think about the overall theme you want to achieve in your garage. Whether you’re going for a retro automobile theme, a nature-inspired oasis, or a space dedicated to your favorite sports team, incorporating a cohesive theme will tie everything together.
Displaying Memorabilia:
Don’t just stop at the mural—consider adding shelves, racks, or display cases to showcase your collectibles, tools, or memorabilia. This adds visual interest and gives your garage a curated and personalized touch.
Remember, your garage is an extension of your home and should reflect your personality and interests. Adding personal touches to your garage wall decor can transform a mundane space into a vibrant and inviting environment you’ll enjoy spending time in.
Tips for Maintaining Wall Murals in Garages
So, you successfully installed a stunning mural in your garage – congratulations! But the journey doesn’t end there. To ensure that your garage wall decor remains vibrant and long-lasting, here are some practical tips for maintaining murals in garages:
Regular Cleaning:
Just like your car needs regular maintenance, your murals require some TLC. Dust and dirt can accumulate over time, dulling your mural’s colors and overall look. A simple wipe-down with a damp cloth can go a long way in preserving its beauty.
Mindful Parking:
Are you a little too enthusiastic when parking in your garage? Be mindful of any sharp objects on your vehicle that could scratch or damage the mural. A gentle approach to parking can prevent any unforeseen accidents.
Watch Out for Moisture:
Garages are prone to moisture build-up, which can harm your mural. Look for any signs of water damage or mold near the mural. Proper ventilation and dehumidifiers can help maintain an optimal environment.
Avoid Direct Sunlight:
While natural light can enhance the aesthetics of your mural, direct sunlight can cause colors to fade over time. Consider installing blinds or curtains to protect your mural from harsh UV rays.
Handle with Care:
Accidents happen, but treating your mural with care can prevent unnecessary damage. Avoid leaning heavy objects against the mural or using sharp tools near it. Remember, a gentle touch goes a long way.
Invest in a Sealant:
For added protection, consider applying a clear sealant over your mural. This can help shield the artwork from minor scratches, moisture, and other external factors, ensuring its longevity.
By incorporating these maintenance tips into your routine, you can preserve the beauty and integrity of your garage mural for years to come. Remember, a little effort now can save you from costly repairs or replacements.
Conclusion
Transforming your garage with murals is a fantastic way to add personality and style to an often-overlooked space. By incorporating beautiful and inspiring designs, you can create a work environment that looks great and motivates and energizes you.
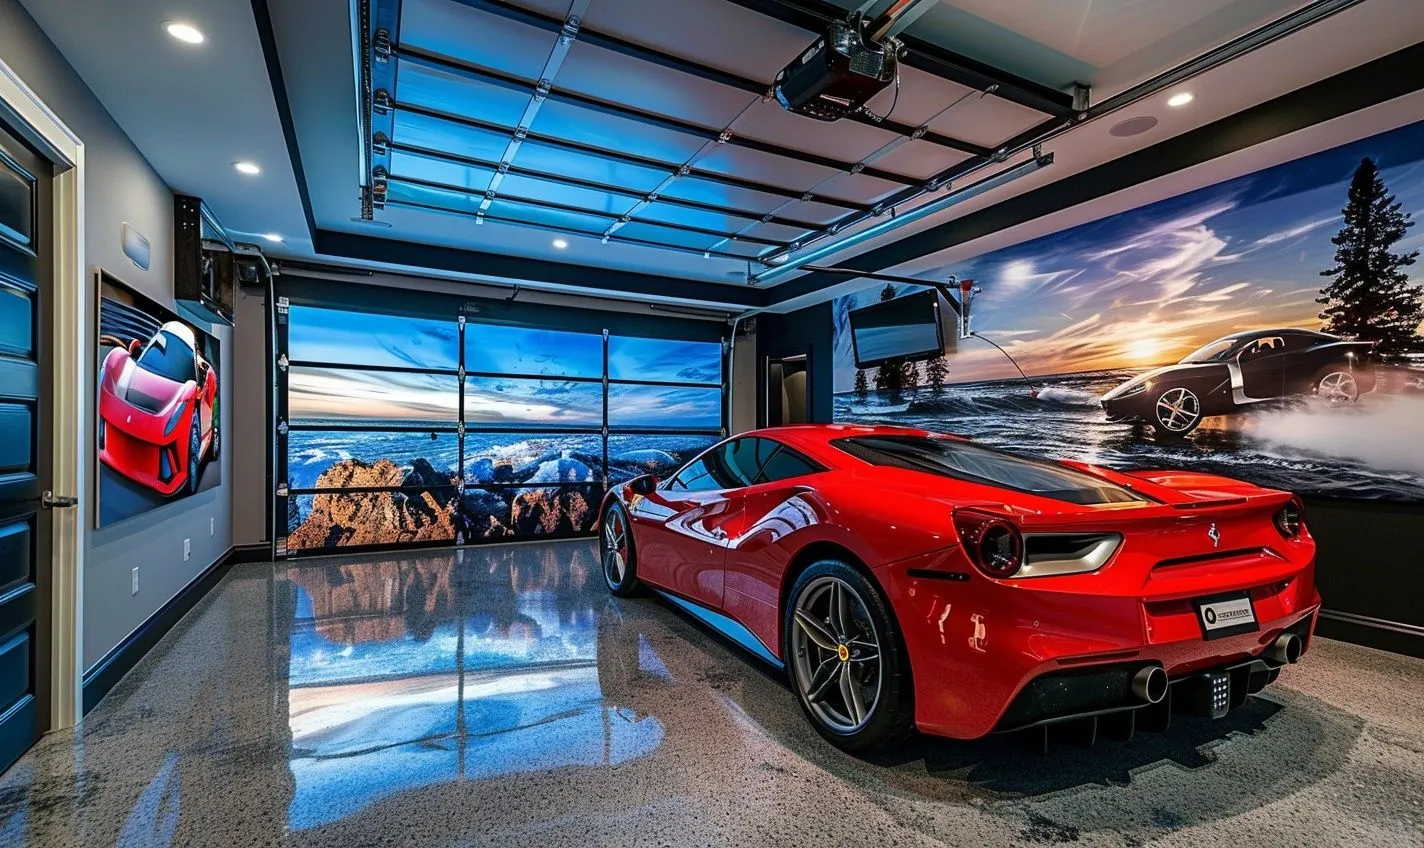
Installing murals in your garage is a simple and cost-effective way to impact significantly. The possibilities are endless, whether you choose a serene nature scene, a bold geometric pattern, or a vintage car mural.
Don’t be afraid to get creative and explore different options to find the perfect mural that speaks to you. Remember, this is a chance to let your personality shine and create a space you enjoy spending time in.
So, why wait? Start transforming your garage today with stunning murals that will turn your space from drab to fab in no time. Get ready to impress your friends and neighbors with a garage that reflects your unique style and passion.
Frequently Asked Questions (FAQs)
Q: What are murals?
A: Murals are large images printed on vinyl material that can be installed on walls to enhance the décor of a space, such as a garage.
Q: Why should I consider installing murals in my garage?
A: Murals can transform a dull garage wall into a vibrant space, reflecting your personality and interests. They add visual appeal and can inspire creativity.
Q: How durable are murals in a garage environment?
A: High-quality murals are designed to be durable and resistant to fading, moisture, and general wear and tear, making them suitable for garage walls.
Q: Can I install a mural by myself?
A: Yes, many murals come with easy-to-follow installation instructions, and with some essential tools and DIY skills, you can install them yourself.
Q: How do I clean murals in the garage?
A: You can clean murals in the garage using a mild soap solution and a soft cloth. Avoid abrasive cleaners or scrubbing to prevent damage to the mural.
Q: Can murals be removed without damaging the wall surface?
A: Most murals are designed to be removable without damaging the wall surface. Follow the instructions for best resthe ults.