Welcome, garage enthusiasts! As we embark on a new season, it’s crucial to address one often-overlooked aspect of our garage – the lighting. Neglecting proper maintenance and adjustments for your garage lights can result in inefficient lighting, increased energy costs, and compromised safety.
As an expert in lighting maintenance and upgrades, I am here to guide you through the essential seasonal adjustments to keep your garage well-lit and functional throughout the year. Whether you are a car enthusiast, DIY guru, or someone who values a well-illuminated workspace, this guide will help you optimize your garage lighting setup.
From checking for burnt-out bulbs to upgrading to energy-efficient LED fixtures, seasonal maintenance for your garage lights is critical to ensuring a well-lit and productive space. By following the tips in this guide, you can enhance visibility, create a safer environment, and even elevate the aesthetic appeal of your garage.
So, join me on this enlightening journey as we delve into seasonal garage lighting maintenance. Let’s brighten up your workspace and make your garage a beacon of productivity and functionality!
Seasonal Adjustments and Maintenance for Garage Lights
And now, let’s shed some light on Checking for Burnt Bulbs to ensure your garage stays well-lit and functional all year round.
When did you last look closely at the bulbs in your garage lights? Burnt bulbs not only dim the brilliance of your space but also potentially compromise safety. Just like how a flickering flame struggles to stay alight, burnt bulbs can leave you fumbling in the dark.
Here are some simple steps you can take to keep your garage lights shining bright:
Inspect Regularly:
Regularly swing by your garage and scan each light fixture for flickering or dimming bulbs. This quick check can help you catch burnt bulbs before they plunge into darkness.
Provide Prompt Replacement:
Don’t let a burnt bulb cast a shadow over your day. Make it a priority to replace any burnt bulbs promptly to maintain optimal visibility in your garage.
Stock Up on Spare Bulbs:
For example, you can keep extra batteries for your flashlight and a stash of spare bulbs handy for quick replacements. This preparation ensures you’re never caught off guard by a burnt bulb.
Remember, by giving your garage lights the attention they deserve, you ensure a well-lit space and create a safer and more inviting environment for all your projects and tasks.
Adjusting Light Direction
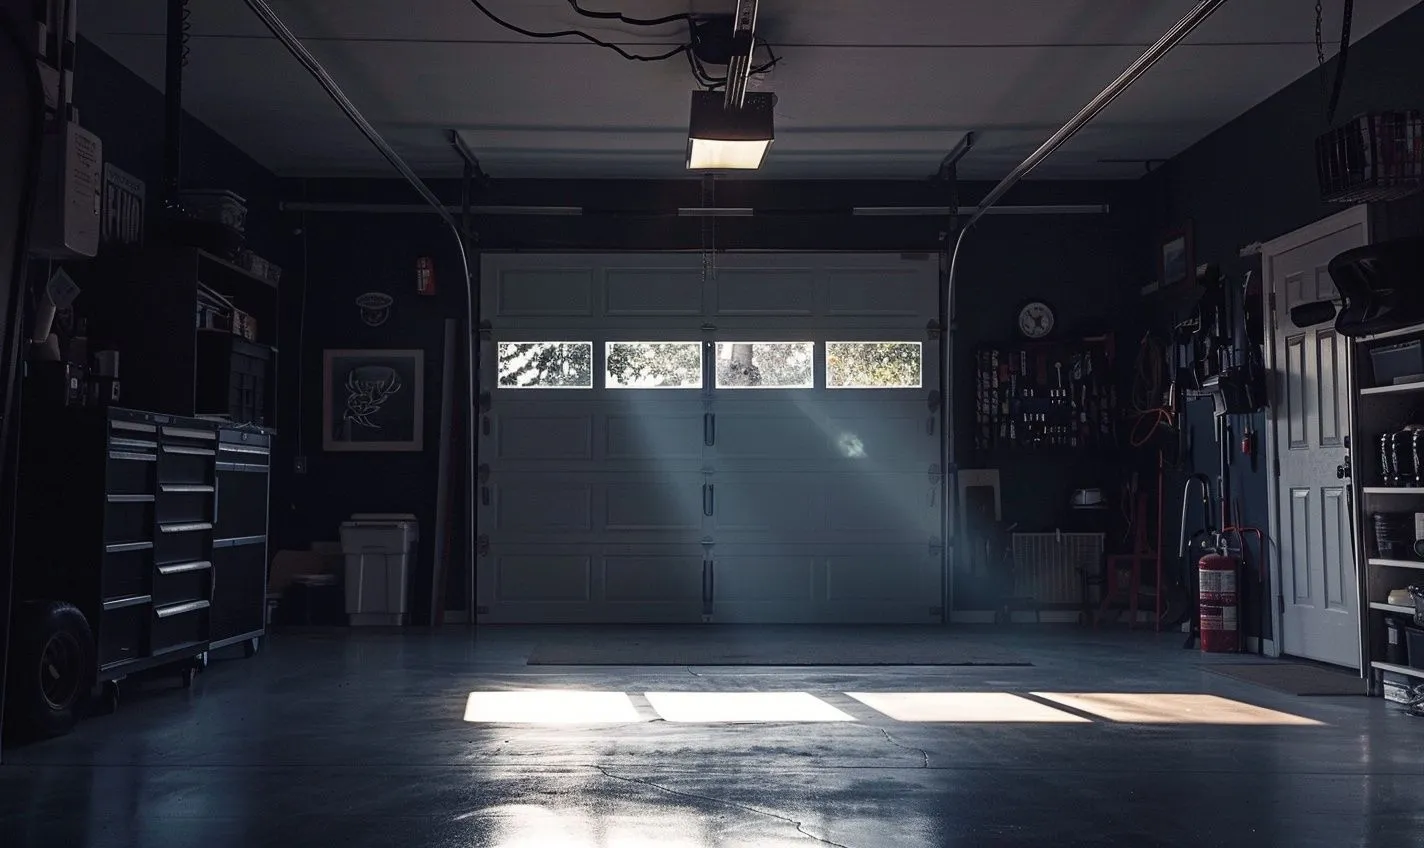
Have you ever walked into your garage and felt like you’d stepped into a dungeon because of insufficient lighting? Don’t fret! A straightforward tweak can make a difference—adjusting the direction of your lights. Just as the sun’s rays must be angled correctly for optimal warmth and brightness, your garage lights must be strategically positioned to illuminate every nook and cranny.
Why Does Light Direction Matter?
Imagine driving down a dark road with your headlights pointing toward the sky; you wouldn’t see much of the road ahead, right? The same principle applies to your garage lights. Properly adjusting the direction ensures that light is dispersed evenly, banishing those shadows lurking in the corners.
Here are a few steps to help you adjust your light direction effectively:
- Locate dark spots: Identify areas in your garage with inadequate or uneven lighting.
- Reposition lights: Experiment with adjusting the angle of your light fixtures to brighten up those dim areas.
- Consider additional lighting: Supplement with extra fixtures or lamps if certain spots remain poorly lit.
Making Seasonal Adjustments
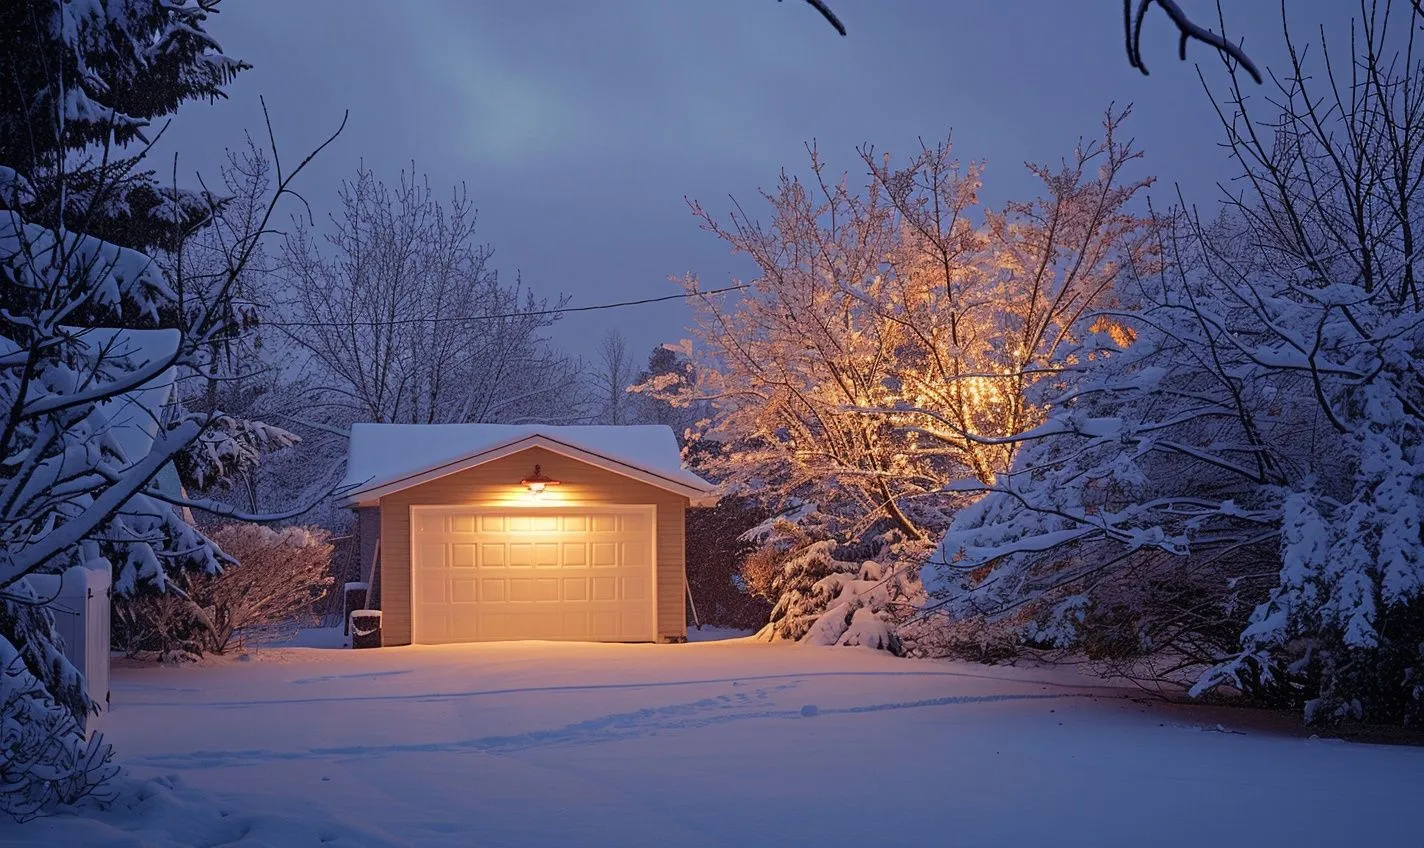
Just as our wardrobes change with the seasons, your lighting needs may vary, too. As the days get shorter in winter, you might require brighter lights to combat the darkness. Conversely, you could opt for slightly dimmer lighting in the bright summer months to save energy.
Don’t forget to make these seasonal adjustments to ensure your garage remains well-lit and functional all year round.
Takeaway Tips
- Regularly assess your garage’s lighting to identify any dark spots.
- Adjust the direction of your lights to achieve optimal illumination.
- Consider seasonal variations in lighting needs and make appropriate adjustments.
Replacing Outdated Fixtures
Have you ever walked into your garage only to feel like you’ve been transported back in time because of your outdated light fixtures? Don’t fret; it’s time to give your garage a modern makeover by replacing those old fixtures with new, sleek options that will enhance the aesthetics and functionality of your space.
Why Upgrade Your Garage Light Fixtures?
Outdated fixtures can dim your space, making working efficiently in your garage challenging. Upgrading to newer fixtures will enhance brightness and visibility, allowing you to tackle projects efficiently.
The Benefits of Upgrading Your Garage Lights
- Increased brightness for better visibility
- Enhanced energy efficiency
- Improved overall aesthetics
- Extended lifespan of the fixtures
Choosing the Right Fixtures for Your Space
When selecting new fixtures for your garage, consider the size of your space, the type of work you do, and your style preferences. Opt for LED lights for maximum energy efficiency and longevity.
Installation Tips for Your New Fixtures
- Ensure proper wiring to avoid any electrical issues
- Position the fixtures strategically for optimal light distribution
- Consider adding dimmers or sensors for added convenience
Investing in modern fixtures is not just about upgrading the look of your garage; it’s about creating a space that caters to your needs and enhances your overall productivity. So, say goodbye to those outdated lights and hello to a brighter, more efficient workspace!
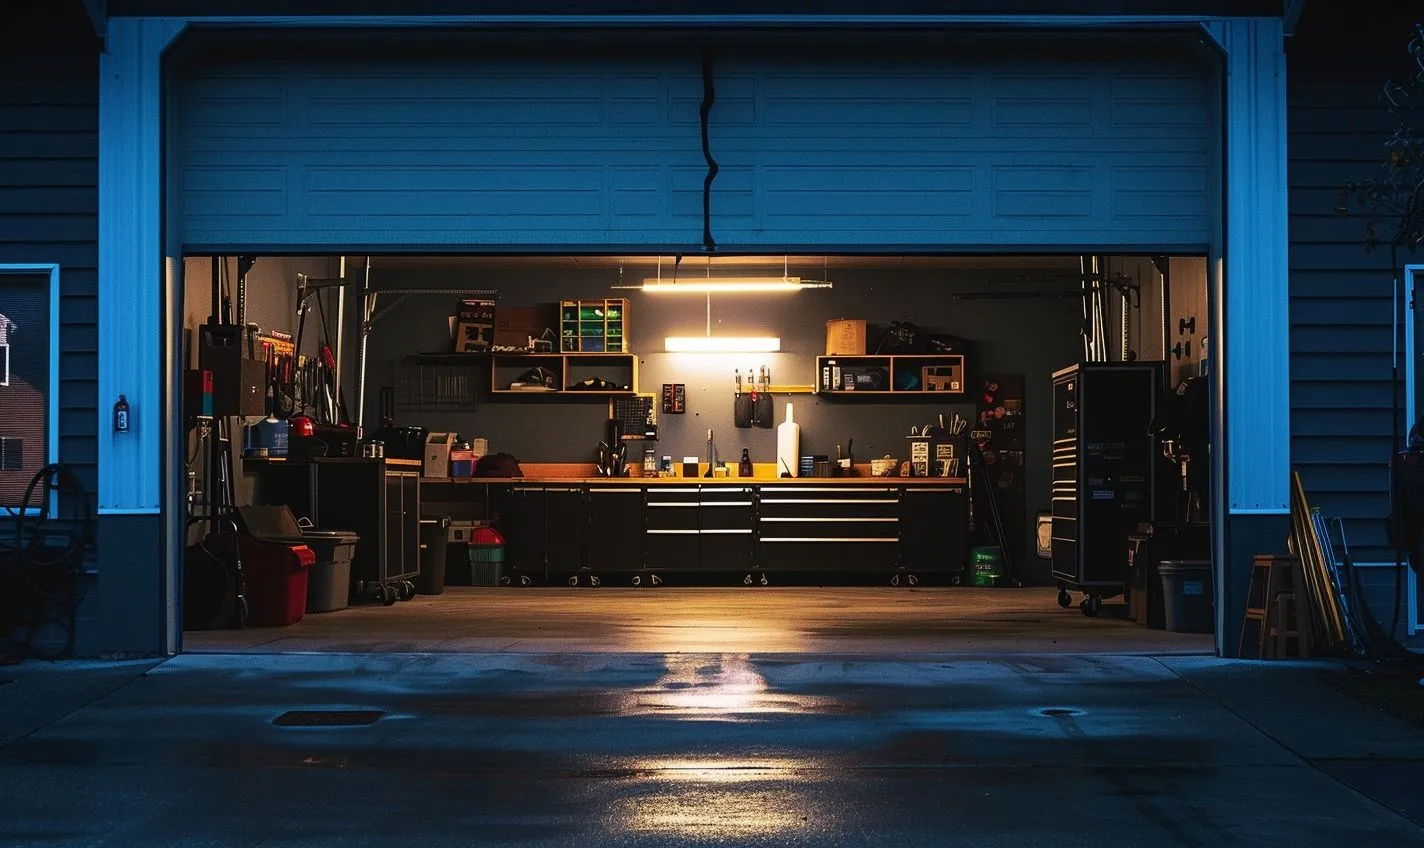
Optimizing Light Output
When it comes to enhancing the lighting in your garage, maximizing the light output is critical to improving visibility and functionality in your workspace. Optimizing light output doesn’t have to be complicated or expensive. By making simple adjustments and upgrades, you can transform your garage into a well-lit, efficient, and inviting area.
Maximizing Natural Light
One of the easiest ways to optimize light output in your garage is to make the most of natural light sources. Consider installing skylights or windows to allow natural light to flood into the space. Not only does this brighten up the area, but it also helps reduce your reliance on artificial lighting during the day.
Strategic Placement of Lights
Positioning your lights strategically can significantly improve the overall brightness of your garage. Ensure your light fixtures are placed in areas illuminating the entire space. Consider adding task lighting above workbenches and shelving units for focused brightness where you need it most.
Using Reflective Surfaces
One clever way to enhance light output is by incorporating reflective surfaces in your garage. Paint walls and ceilings with light colors to bounce and amplify the light, making the space feel brighter and more expansive. Installing mirrors can also help reflect light, creating a well-lit and airy atmosphere.
Remember, a well-lit garage improves visibility and creates a more welcoming environment for your projects and activities. These optimization techniques can help you maximize your garage lighting without breaking the bank.
Upgrading to Energy-Efficient LEDs
You’ve checked for burnt bulbs and adjusted the light direction in your garage, but have you considered upgrading to energy-efficient LEDs?
Why Upgrade to Energy-Efficient LEDs?
Think about it – your current garage lights may cost you more money in the long run. With energy-efficient LEDs:
- You’ll save on your electricity bill
- They last longer than traditional bulbs
- LEDs are environmentally friendly
Installing energy-efficient LEDs is like giving your garage a power boost. It brightens the space while being kinder to your wallet and the planet.
How to Make the Switch to LEDs
Transitioning to LEDs in your garage is a simple and rewarding process:
- Research the right LED bulbs for your needs
- Calculate the savings you’ll make with LEDs
- Swap out your old bulbs with new LEDs
And just like that, your garage will be transformed into a well-lit, cost-effective space ready for any project!
Ensuring Adequate Illumination
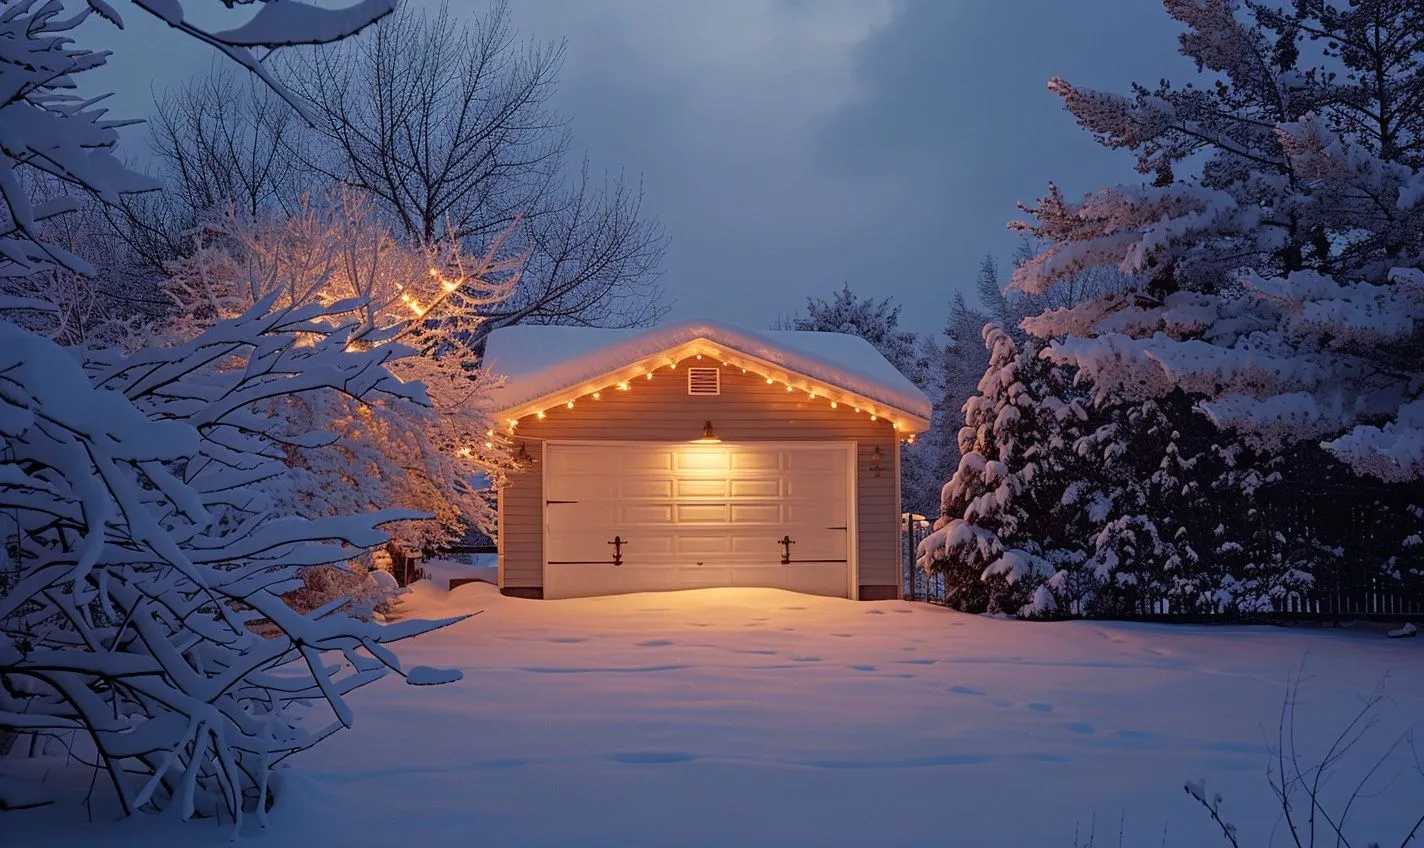
Imagine stepping into your garage on a dark, stormy night and struggling to find what you need because of inadequate lighting. It can be frustrating and even dangerous, not to mention a real hassle! Proper lighting in your garage is essential for safety and efficiency, and it all starts with ensuring adequate illumination.
Check for Burnt Bulbs
First things first, inspect your garage lights regularly for burnt-out bulbs. A single faulty bulb can significantly reduce the brightness of your space, so make sure to replace them promptly.
Adjusting Light Direction
Properly align your light fixtures to ensure they direct light where it’s most needed. Adjusting the angle of your lights can brighten up your garage and eliminate dark spots.
Replacing Outdated Fixtures
If your current light fixtures are outdated, consider replacing them with newer, more efficient models. Old fixtures may not provide sufficient illumination and could consume more energy than necessary.
Optimizing Light Output
Consider adding reflectors or diffusers to your existing fixtures to maximize their light output. Optimizing how light is distributed can maximize your lighting setup.
Upgrading to Energy-Efficient LEDs
Make the switch to energy-efficient LED bulbs, which not only provide better illumination but also help you save on energy costs in the long run. LEDs are long-lasting and consume significantly less power than traditional incandescent bulbs.
Installing Motion Sensors for Efficiency
Maximize energy efficiency by installing motion sensors that activate your lights only when detecting motion. This saves energy and adds a layer of security to your garage.
Remember, a well-lit garage is about convenience, safety, productivity, and peace of mind. By assessing and optimizing your lighting setup, you can transform your garage into a well-lit, functional space that serves you well day in and day out.
Installing Motion Sensors for Efficiency
When it comes to lighting maintenance and upgrades in your garage, one simple yet effective way to enhance efficiency is to install motion sensors. These nifty devices can significantly change how you use and consume energy in your garage.
Why are Motion Sensors Important?
Imagine never having to fumble for a light switch in the dark again. With motion sensors, your lights will automatically turn on when you enter your garage. No more wasted energy from lights being left on when they’re not needed!
The Benefits of Motion Sensors:
- Increased energy efficiency
- Convenience and hands-free operation
- Enhanced security by deterring intruders
How to Install Motion Sensors:
- Choose the suitable sensor for your space
- Follow the manufacturer’s instructions for installation
- Place the sensor in a strategic location for optimal coverage
Motion sensors are like the guardian angels of your garage lights; they are only activated when needed and save energy. They provide a hands-free solution that enhances convenience and adds a layer of security to your space. Say goodbye to wasted energy and hello to a more innovative, more efficient way of lighting up your garage!
Conclusion
As we wrap up our seasonal garage lighting maintenance guide, it’s clear that proper lighting in your garage is essential for safety and convenience. By following the tips outlined in this guide, such as cleaning fixtures, replacing bulbs, and considering upgrades, you can maintain a well-lit and functional workspace year-round.
Remember, seasonal adjustments are crucial in optimizing your garage’s lighting. These simple tweaks can make a big difference, whether adjusting the angle of the light fixtures to accommodate changing daylight hours or installing motion sensors for added security during darker evenings.
Regular maintenance enhances visibility and safety and extends the lifespan of your lighting system, saving you time and money in the long run. Don’t overlook the importance of keeping your garage won’t, especially during the darker months when visibility is limited.
By staying proactive and incorporating these maintenance practices into your routine, you can ensure your garage remains a well-illuminated and functional space throughout the year. So, roll up your sleeves, grab your tools, and give your garage lights the attention they deserve!
Frequently Asked Questions (FAQs)
What are the seasonal adjustments and maintenance tips for garage lights?
Seasonal adjustments and maintenance for garage lights include cleaning fixtures, replacing old bulbs, checking for wiring issues, and adjusting lighting timer settings.
How often should I clean my garage light fixtures?
It is recommended that garage light fixtures be cleaned at least twice a year to remove dust, dirt, and debris affecting light output.
When should I replace the bulbs in my garage lights?
Replace bulbs in your garage lights as soon as they appear dim or flicker, typically every 1-2 years, depending on usage.
How can I check for wiring issues with my garage lights?
Inspect the wiring for fraying, loose connections, or signs of damage. If you are unsure, consult a professional electrician.
What should I do if my garage lights are on a timer?
Adjust the timer settings based on the season to ensure optimal lighting levels depending on daylight changes.
Why is it essential to maintain garage lights regularly?
Regular maintenance helps ensure proper illumination, safety, and energy efficiency in your garage and prolongs the lifespan of your lights.