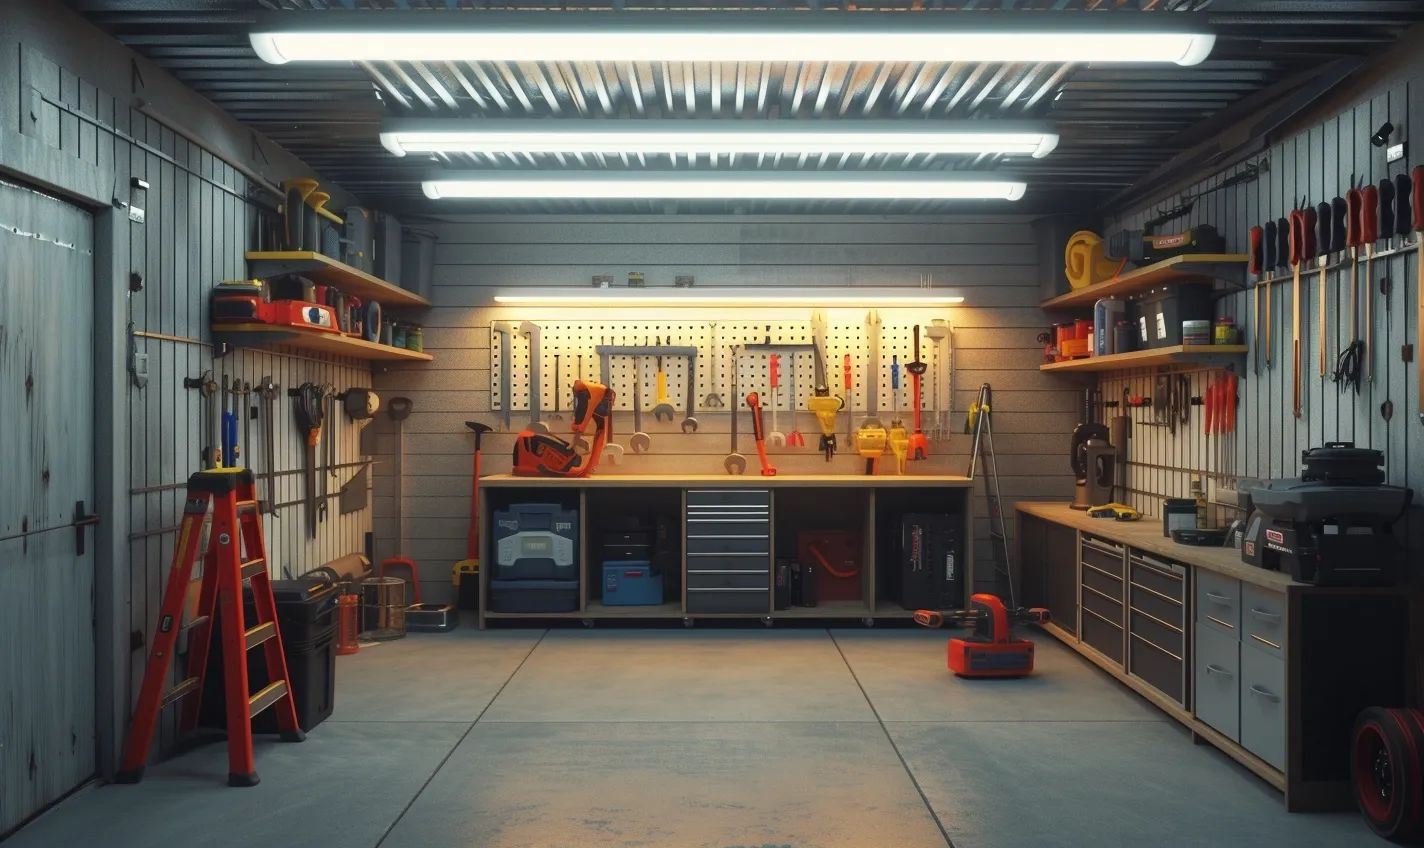
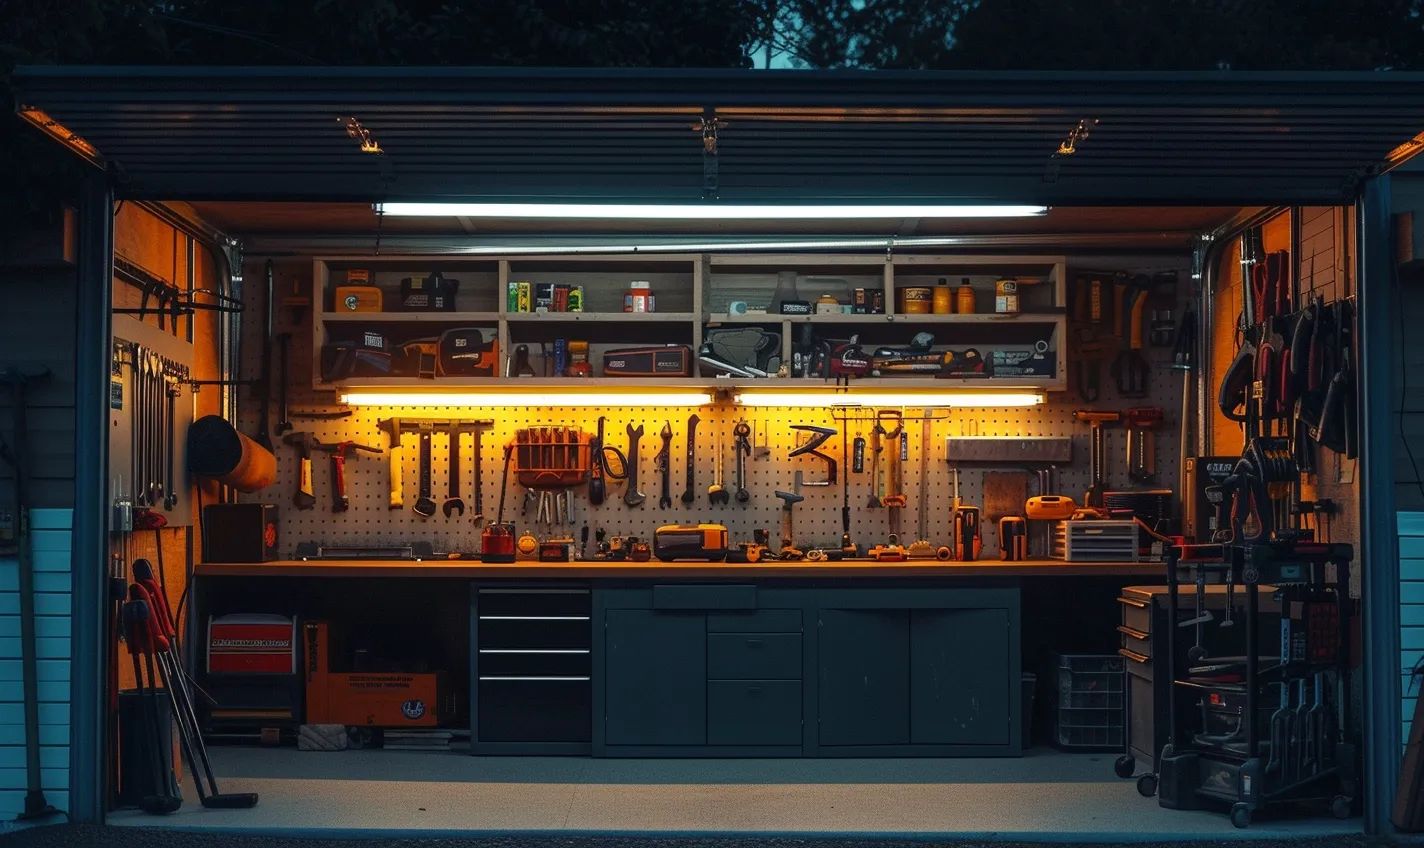
Installing proper lighting in your indoor garage is convenient and a crucial safety aspect. Good lighting ensures you can easily navigate through your garage, find your tools, and complete your projects efficiently. However, performing garage light installation requires the proper tools to ensure the safety of both yourself and your property.
As an expert in garage lighting installation, I understand the importance of having the right tools at your disposal. Whether you are a seasoned DIY enthusiast or a professional electrician, having the essential tools for garage light installation is critical to achieving a successful and safe outcome.
One of the most essential tools you will need is a voltage tester. This tool allows you to check if the electrical circuit is live before you start working on it, minimizing the risk of electrical shocks. Another essential tool is a circuit wire tracer, which enables you to identify wires and cables within the walls or ceilings of your garage, ensuring you don’t accidentally damage any existing electrical connections.
Additionally, you will need the standard tools such as a power drill, screwdrivers, wire cutters, and pliers. These tools are indispensable for mounting light fixtures, connecting wires, and ensuring everything is securely in place.
Finally, investing in a good-quality ladder or scaffolding is crucial for your safety. Working at heights can be hazardous. Hence, a stable and reliable platform is necessary to reach the areas where you will install the lights.
Introduction
Welcome to our guide on essential tools for garage light installation! Whether renovating your garage or simply looking to upgrade the lighting, having the right tools is crucial to ensure a smooth and successful project. A well-lit garage not only enhances visibility but also improves safety and productivity.
This article will explore the tools you need for a seamless garage light installation. We’ve covered you, from power tools to measuring and marking tools. Let’s get started!
Critical Considerations for Garage Light Installation
Before diving into the essential tools, it’s vital to understand the significance of quality garage lighting. A well-lit garage creates a safe and functional space for various activities, such as parking vehicles, DIY projects, or simply finding stored items. It improves visibility and helps prevent accidents or injuries.
When planning your garage light installation, consider factors such as the size of your garage, the intended use of the space, and the type of lighting fixtures that will best suit your needs. Additionally, make sure to take into account any local building codes or regulations that may apply.
Essential Power Tools for Garage Light Installation
Power tools are indispensable for any garage light installation project. They help make the process quicker and more efficient. Here are some essential power tools you should have:
- Power drill
- Reciprocating saw
- Wire stripper
- Screwdriver set
- Wire crimping tool
- Staple gun
These tools will assist you in drilling holes for fixtures, cutting through drywall or other materials, stripping wires, and securely fastening components.
Additional Tools for Convenient Installation
These additional tools will ensure accuracy, safety, and accessibility during the garage light installation process:
- Tape measure
- Level
- Pencil
- Wire connectors
- Electrical tape
- Ladder or scaffolding
- Work gloves
- Safety glasses
Using the proper measuring and marking tools will help you precisely place fixtures, while wiring tools ensure safe and secure connections. Safety equipment is crucial to protect yourself from potential hazards, and a ladder or scaffolding will provide easy access to higher areas.
Tips for a Smooth and Successful Garage Light Installation Project
Before concluding our guide, we will provide tips for organizing and storing your tools and valuable advice for a successful garage light installation project.
By following these tips and utilizing the abovementioned tools, you’ll be well-prepared to tackle your garage light installation confidently and efficiently.
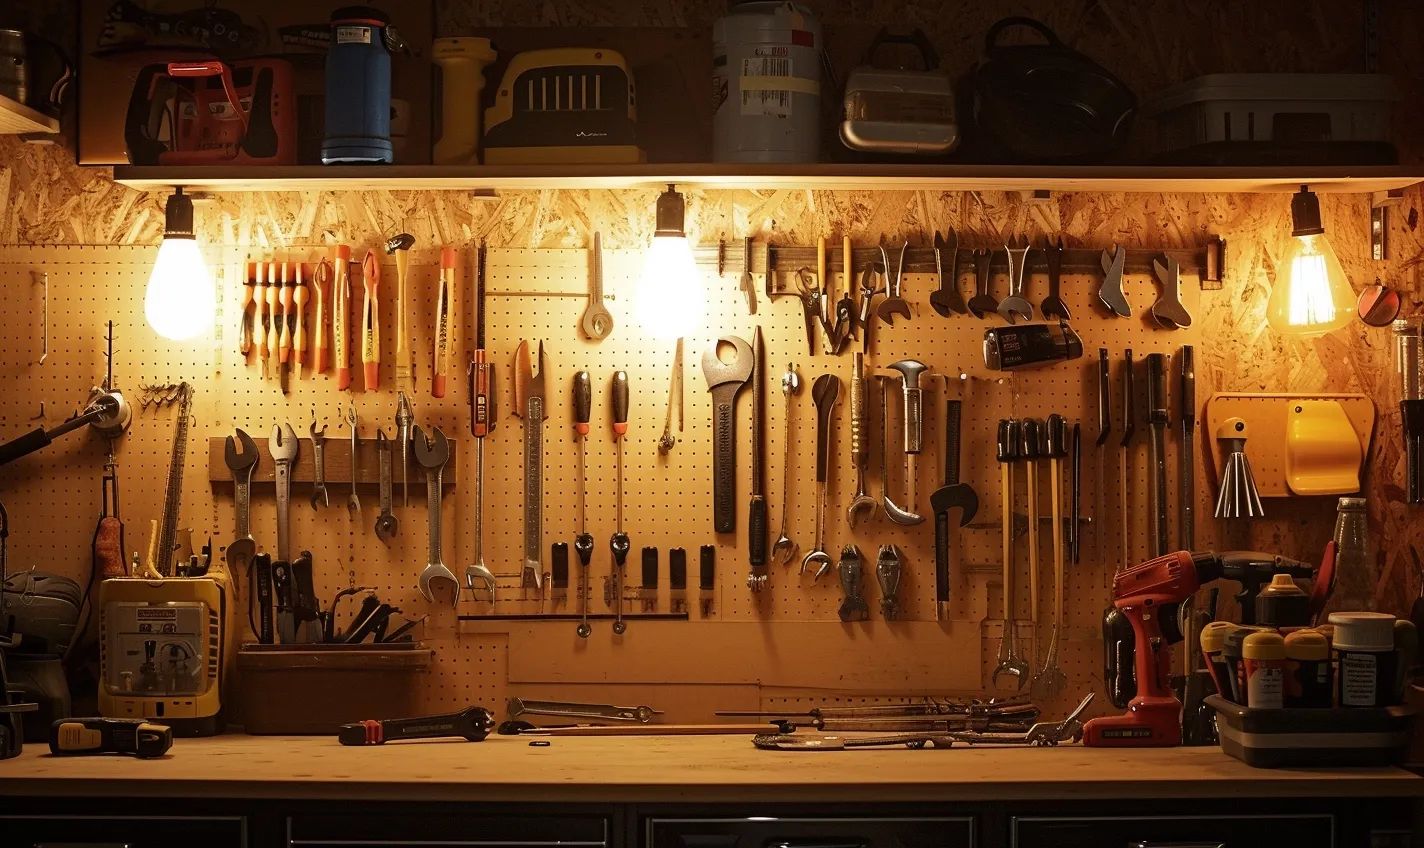
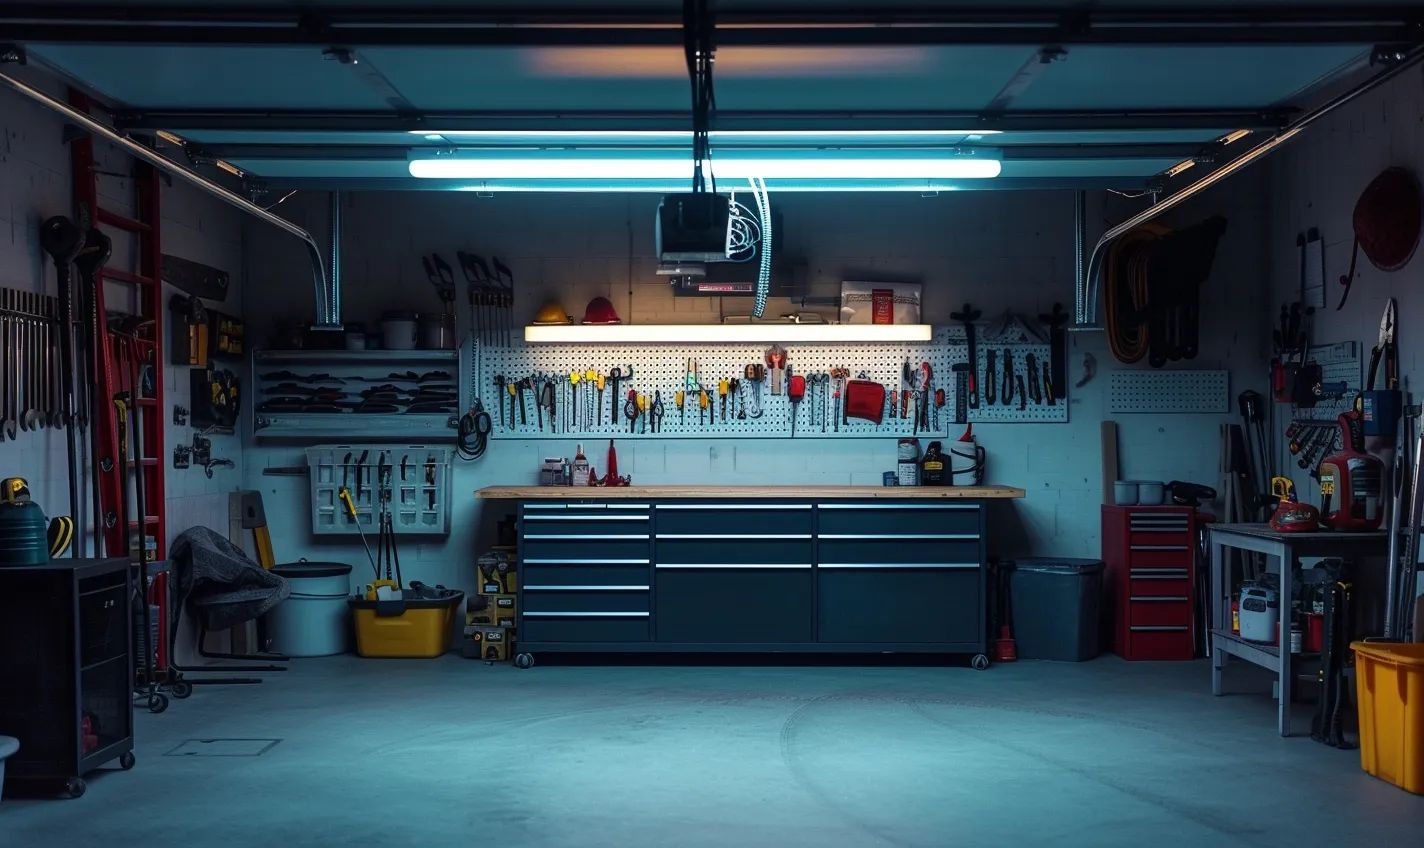
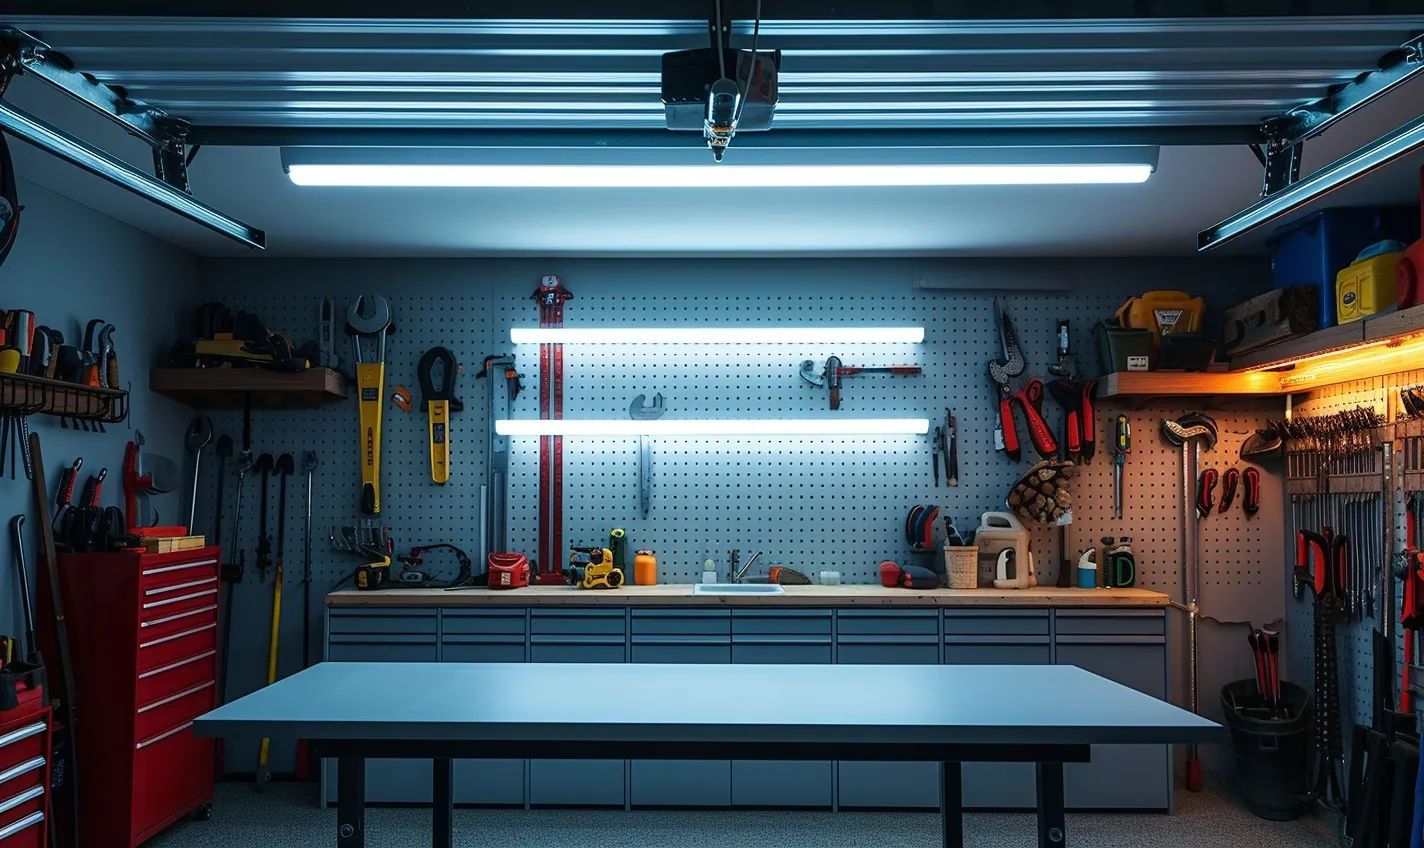
Importance of Quality Garage Lighting
When it comes to your garage, having proper lighting is of utmost importance. Whether you use your garage for parking your vehicle, as a workshop, or for storage purposes, having sufficient and high-quality lighting is essential. Here’s why:
Improve Visibility and Safety
One of the primary reasons why quality garage lighting is crucial is to enhance visibility and ensure safety. Insufficient lighting can make it challenging to navigate through your garage, increasing the risk of accidents and injuries. With proper lighting, you can easily spot potential hazards, tripping hazards, and obstacles, making it a safer space for everyone.
Enhance Productivity and Efficiency
Good lighting in your garage can significantly impact your productivity and efficiency while working on projects or carrying out routine maintenance tasks. Adequate illumination lets you see everything clearly, making it easier to work with tools, find items, and complete tasks efficiently. Additionally, quality lighting reduces eye strain and fatigue, improving focus and concentration on your work.
Create a Welcoming Environment
Your garage doesn’t have to be a dark and gloomy space. Installing quality lighting fixtures can transform your garage into an inviting and functional area. Proper lighting can make the space feel brighter, more spacious, and aesthetically pleasing. Whether you use your garage for DIY projects or hobbies or simply as an extension of your home, good lighting can make it a place where you want to spend more time.
Improve Security
Quality garage lighting can also play a crucial role in enhancing the security of your property. Well-lit garages deter potential intruders and burglars, as they prefer to operate in dark areas where they are less likely to be seen. High-quality lighting can deter criminals and protect your vehicles and valuable belongings.
Save Energy and Money
While it may seem counterintuitive, investing in quality garage lighting can help you save energy and money in the long run. Opting for energy-efficient LED lighting fixtures provides bright, long-lasting illumination and consumes far less energy than traditional bulbs. As a result, you can enjoy significant energy savings on your utility bills over time.
In conclusion, quality garage lighting is more than just convenience. It enhances safety, improves productivity, creates a welcoming environment, enhances security, and even helps you save energy and money. So, when lighting up your garage, invest in the best tools and fixtures to achieve the best results.
Critical Considerations for Garage Light Installation
When installing garage lights, you need to remember a few key considerations to ensure a successful and safe installation. Considering these factors, you can create a well-lit, functional space that meets your needs. Let’s explore these considerations in more detail.
Power Supply
Before you begin installation, you must ensure a proper power supply for your garage lights. This involves checking for adequate electrical outlets and determining if your existing electrical system can handle the additional load. If necessary, you may want to consult a professional electrician to make sure everything is in order.
Lighting Requirements
It’s essential to consider your specific lighting needs and requirements when choosing garage lights. Think about the purpose of your garage and the activities that take place within it. Are you using it as a workspace, storage area, or both? This will help you determine the type of lighting fixtures and their placement to ensure optimal illumination.
Light Output and Efficiency
Another vital consideration is the light output and efficiency of the garage lights. Look for fixtures that provide sufficient brightness to illuminate your space effectively. Additionally, consider energy-efficient options, such as LED lights, which consume less power and last longer than traditional bulbs.
Lighting Control
Having control over your garage lighting is essential for convenience and energy savings. Consider installing dimmers, timers, or motion sensors to adjust the level of lighting based on your needs or to ensure lights are automatically turned off when the space is not in use. These controls can help optimize both functionality and energy consumption.
Safety Precautions
Never overlook safety when installing garage lights. Ensure you follow all electrical safety protocols, such as turning off the power supply before working on the wiring, using proper insulation and grounding techniques, and avoiding overloading circuits. It’s also crucial to wear appropriate safety gear throughout the installation, like gloves and goggles.
By considering these key factors during your garage light installation, you can create a well-lit and safe environment that enhances the functionality of your space. Remember, it’s always best to consult a professional electrician for guidance if you’re unsure about any aspect of the installation process.
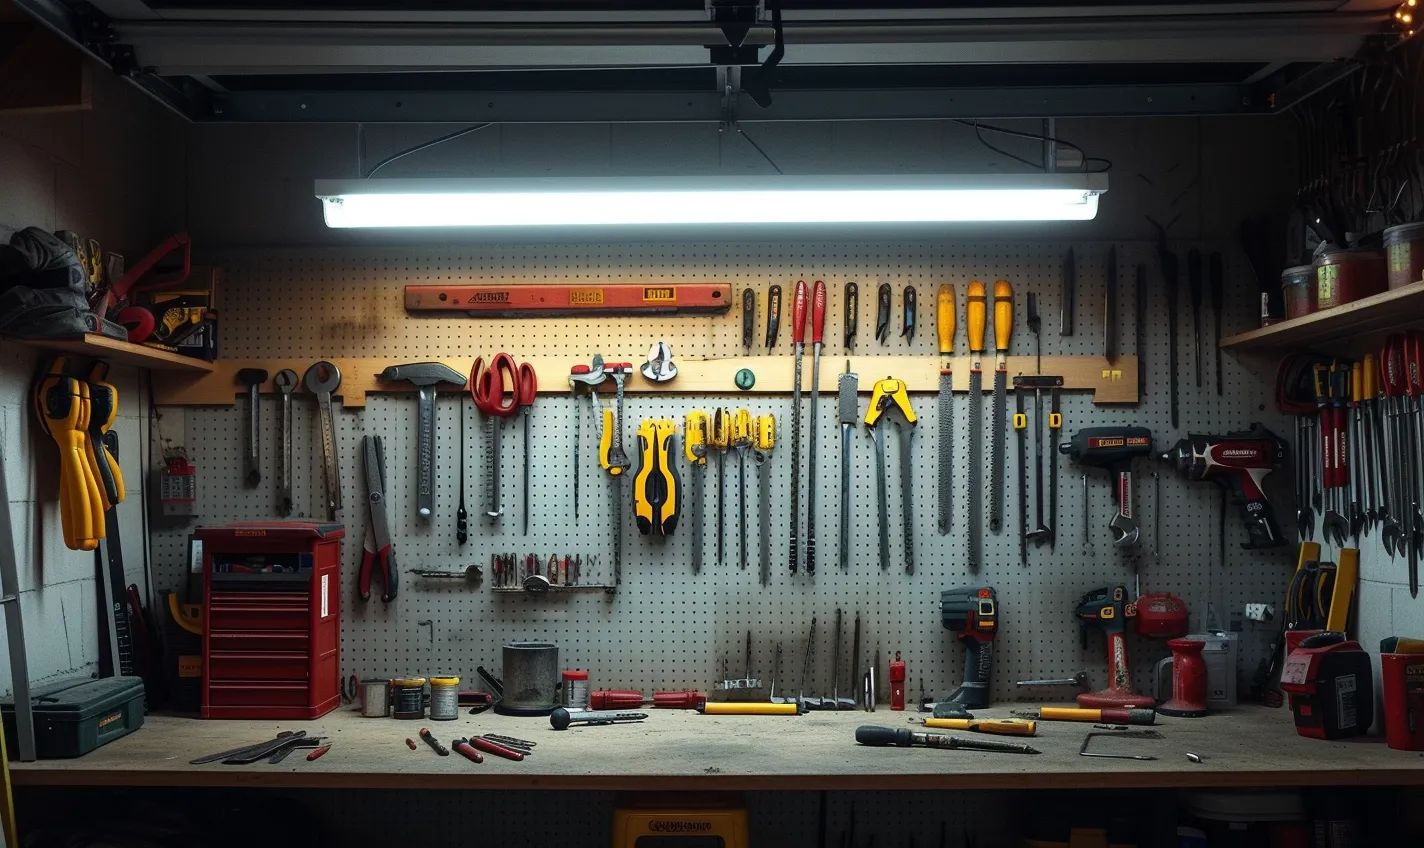
Essential Power Tools for Garage Light Installation
When installing garage lighting, having the right tools at your disposal can make all the difference. Not only will they ensure a smooth and efficient installation process, but they will also contribute to the overall safety and quality of the project. Here are some essential power tools that you should have on hand when installing indoor garage lighting:
Power Drill
A power drill is a must-have tool for any lighting installation project. It allows you to make precise holes in your garage walls or ceiling for mounting brackets and fixtures. Look for a drill with adjustable speed and torque settings to accommodate different materials and avoid damage.
Wire Cutters and Strippers
Working with electrical wiring requires proper cutting and stripping tools. Wire cutters enable you to cleanly cut through various gauges of wire, while wire strippers allow you to remove the insulation without damaging the conductive core. These tools are indispensable for making secure electrical connections.
Screwdriver Set
A comprehensive screwdriver set is essential for attaching light fixtures and mounting brackets. Ensure that your set includes both Phillips and flathead screwdrivers of different sizes to accommodate various screw types commonly used in garage lighting installations.
Fish Tape
Fish tape is valuable for running electrical wires through conduits or hard-to-reach areas. It helps guide and thread the cables easily, saving time and effort. This tool is convenient if you need to extend the wiring from an existing electrical connection to your new garage lights.
Voltage Tester
Never underestimate the importance of a voltage tester for electrical safety. Before working with wires, always use a voltage tester to ensure the power is disconnected correctly. This tool allows you to check whether a circuit is live or safe to install.
In addition to these essential power tools, don’t forget to have a sturdy step ladder or scaffolding available to reach the installation area comfortably and safely. Also, invest in suitable safety equipment like gloves, safety glasses, and ear protection to protect yourself during installation.
By arming yourself with these essential tools, you’ll be well-prepared to tackle your indoor garage lighting installation project. Always follow safety guidelines and consult a professional electrician with doubts or concerns. You can achieve a well-lit and functional garage space with the right tools and proper precautions.
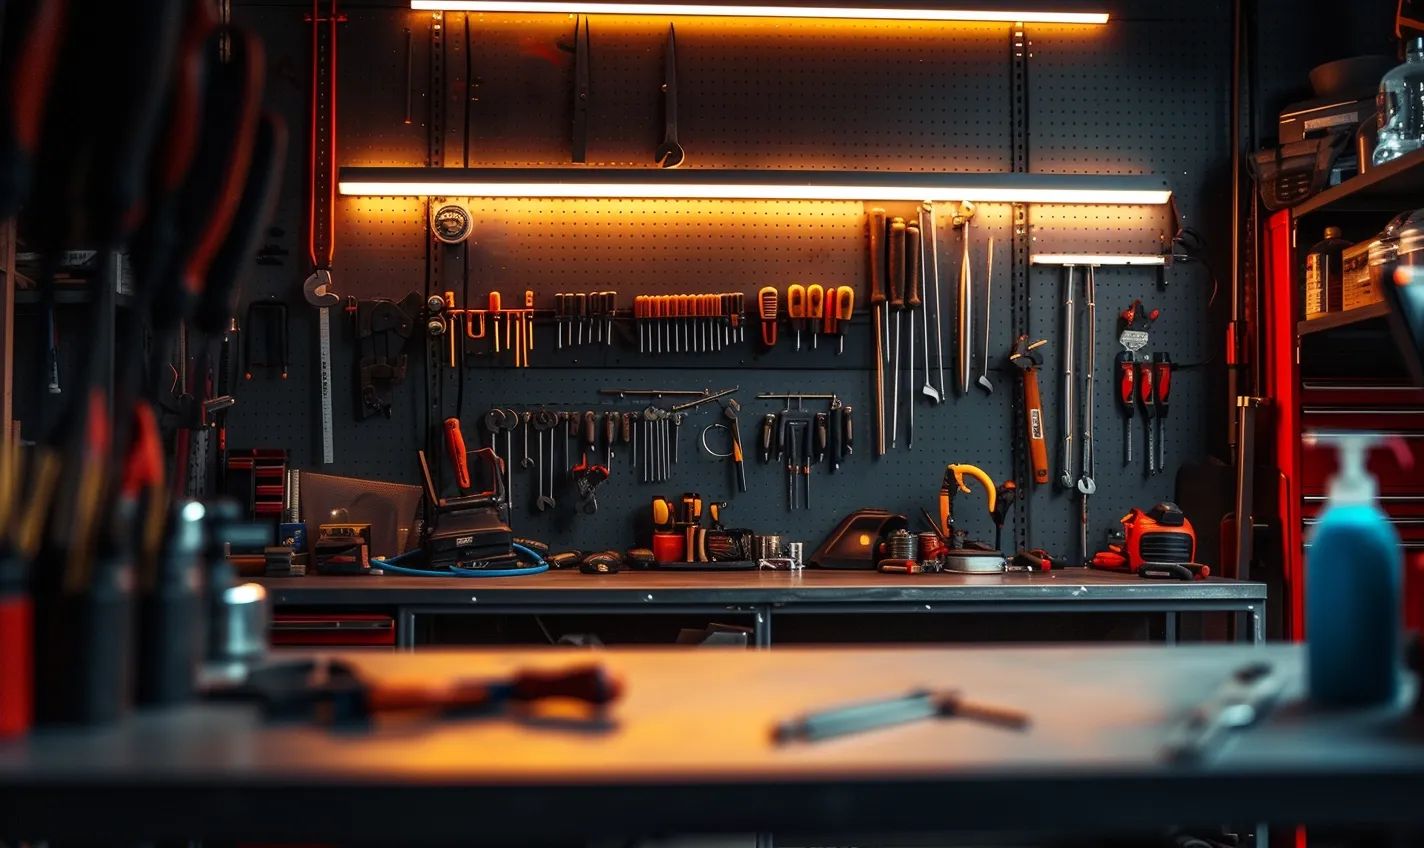
Measuring and Marking Tools for Precise Installation
Proper measuring and marking tools are essential to ensure a precise and accurate garage lighting installation. These tools will help you properly position and align the lights for optimal illumination in your garage. Here are some must-have tools for this task:
Tape Measure:
A tape measure is a versatile tool that every homeowner should have. When installing garage lighting, use a tape measure to determine the height at which the lights should be hung, ensuring they provide adequate lighting without hindering any doors or shelves. It also helps you measure the distance between multiple lights, ensuring even distribution.
Laser Level:
For a professional-grade installation, a laser level is a game-changer. It produces a straight, level line across walls or ceilings, allowing you to mark your lighting fixtures’ positions accurately. This ensures all lights are aligned correctly and gives your garage a clean and polished look.
Pencil or Marker:
Marking the exact spots where you’ll be mounting your lights is crucial. Use a pencil or a marker to create visible marks on the walls or ceilings based on your measurements. This will serve as a guide during the installation process and prevent any unnecessary errors or rework.
Stud Finder:
Locate the studs behind the walls or ceilings to mount your garage lights securely. A stud finder is a handheld device that uses magnets or electronic sensors to detect the presence of studs. You can safely attach your lighting fixtures by identifying the studs to provide stability and prevent accidents.
Chalk Line:
When installing multiple lights in a row, a chalk line can be beneficial in achieving a straight and uniform layout. Stretch the chalk line from one end to another, snap it against the wall or ceiling, and the resulting line will guide you in placing the lights evenly.
Angle Finder:
You may want to install lights at specific angles for better illumination or aesthetics. An angle finder is a valuable tool that helps you measure and replicate angles accurately. This ensures consistent placement of lights and enhances the overall appearance of your garage.
Wiring Tools for Safe and Secure Connections
Ensuring safe and secure wiring connections is paramount when installing garage lighting. You will need a few essential tools that facilitate easy and efficient wiring to achieve this. These tools contribute to the safety of your installation and make the process smoother and more professional. Here are some must-have wiring tools for your garage light installation project:
Wire Strippers:
Wire strippers are essential for cleanly removing the insulation from electrical wires. They allow you to expose the necessary amount of wire for proper connections without damaging the internal conductors. Look for wire strippers designed explicitly for the gauge of wire you are working with.
Wire Cutters:
Wire cutters, also known as lineman’s pliers, are indispensable tools for trimming wires to the desired length. These pliers have a cutting edge near the pivot, enabling you to cut through the cables effortlessly. Make sure to use wire cutters appropriate for the size and type of wire you use.
Electrical Tape:
Electrical tape plays a crucial role in insulating and protecting the exposed wires. It securely wraps the connections, preventing any accidental contact that could result in electrical shocks or short circuits. Choose high-quality electrical tape that is sturdy and long-lasting.
Wire Connectors:
Wire connectors, also called wire nuts, join multiple wires together. They provide a secure and insulated connection, ensuring that the cables are correctly joined without any risk of accidental detachment. Opt for wire connectors that are of the appropriate size for the wires you are working with.
Voltage Tester:
A voltage tester is a vital tool for checking whether an electrical circuit is live. It helps you ensure the power is turned off before working with the wiring, minimizing the risk of electrical accidents. Always double-check with a voltage tester before handling any wiring connections.
Electrical safety should always be a top priority when installing garage lighting. By using these essential wiring tools, you can ensure secure connections and protect yourself from potential hazards. Invest in high-quality tools, follow all safety protocols, and take your time to complete the installation with precision.
Safety Equipment for Protection During Installation
Stay Safe with the Right Gear
When it comes to installing garage lighting, safety should always be your top priority. The process involves working with electricity, heights, and potential hazards, so having the proper safety equipment to protect yourself is crucial. Here are some essential tools that you should have on hand:
1. Safety Glasses will shield your eyes from debris or flying particles generated during installation. Make sure they fit correctly and meet the necessary safety standards.
2. Gloves: Wear sturdy gloves to protect your hands from sharp edges or potential electrical shocks. Look for ones that offer an excellent grip to prevent accidents caused by slippery surfaces.
3. Non-Slip Shoes: Working in an indoor garage can be slippery, mainly if oil spills or water leaks exist. Invest in non-slip shoes with good traction to avoid any accidents due to slipping and falling.
4. Hearing Protection: Some power tools can produce loud noises that damage your hearing over time. Use earplugs or earmuffs to protect your ears and ensure you can enjoy your new well-lit garage for years.
5. Dust Mask: Whether drilling holes or sanding surfaces, there’s always a risk of inhaling dust particles or harmful fumes. Wear a dust mask to protect your respiratory system and prevent long-term health issues.
6. Fire Extinguisher: Accidents can happen, and it’s always better to be prepared for the unexpected. Keep a fire extinguisher nearby in case of any electrical fires or other emergencies.
7. Circuit Tester: Before working with the electrical connections, have a circuit tester check if the power is properly shut off. This will help prevent any accidental electric shocks.
Investing in the proper safety equipment not only protects you from injuries but also ensures that the installation process goes smoothly. Don’t compromise regarding your well-being; take the necessary precautions before starting any garage lighting installation project. Stay safe, stay protected!
Ladder and Scaffolding for Accessible Installation
The right tools are essential to ensure a smooth and successful project when installing garage lighting. In addition to power tools, measuring instruments, and safety equipment, having a ladder and scaffolding is crucial for accessible installation. These tools will allow you to reach elevated areas safely, ensuring that your garage lighting is installed securely and effectively.
Why do you need a ladder?
A ladder is a versatile tool that provides easy access to higher areas of your garage where you need to mount your lights. Whether replacing existing fixtures or installing new ones, a ladder allows you to work comfortably at various heights. Consider a sturdy ladder with a non-slip surface and adjustable height to accommodate different installation requirements.
When should you use scaffolding?
Sometimes, a ladder may not provide enough stability or reach for specific installations. This is where scaffolding comes into play. Scaffolding offers a larger workspace and a more stable platform for working at elevated heights. It provides a safer and more secure alternative to ladders when prolonged work is required or when you need to access multiple areas.
Tips for using ladders and scaffolding safely
Using ladders and scaffolding safely is paramount to avoid accidents and injuries during your garage light installation. Here are some tips to keep in mind:
- Always choose a stable and well-maintained ladder or scaffolding.
- Set up the ladder or scaffolding on a level surface to prevent wobbling or tipping.
- Ensure the ladder or scaffolding supports your weight and any additional equipment or materials.
- When using a ladder, maintain three points of contact: two hands and one foot or two feet and one hand.
- Use scaffolding with guardrails and toeboards to prevent falls.
- Securely fasten and stabilize the scaffolding to avoid any movement as you work.
- Always follow the manufacturer’s instructions for proper use and weight capacity.
- If working alone, inform someone about your project and have them check on you periodically.
By ensuring the use of ladders and scaffolding safely and responsibly, you can install your garage lighting with confidence. These tools provide the necessary access to complete your project efficiently and effectively, allowing you to create a well-lit and functional space in your garage.
Remember, safety should always be your top priority. So, invest in high-quality ladders and scaffolding and take the necessary precautions to ensure a successful and incident-free garage light installation.
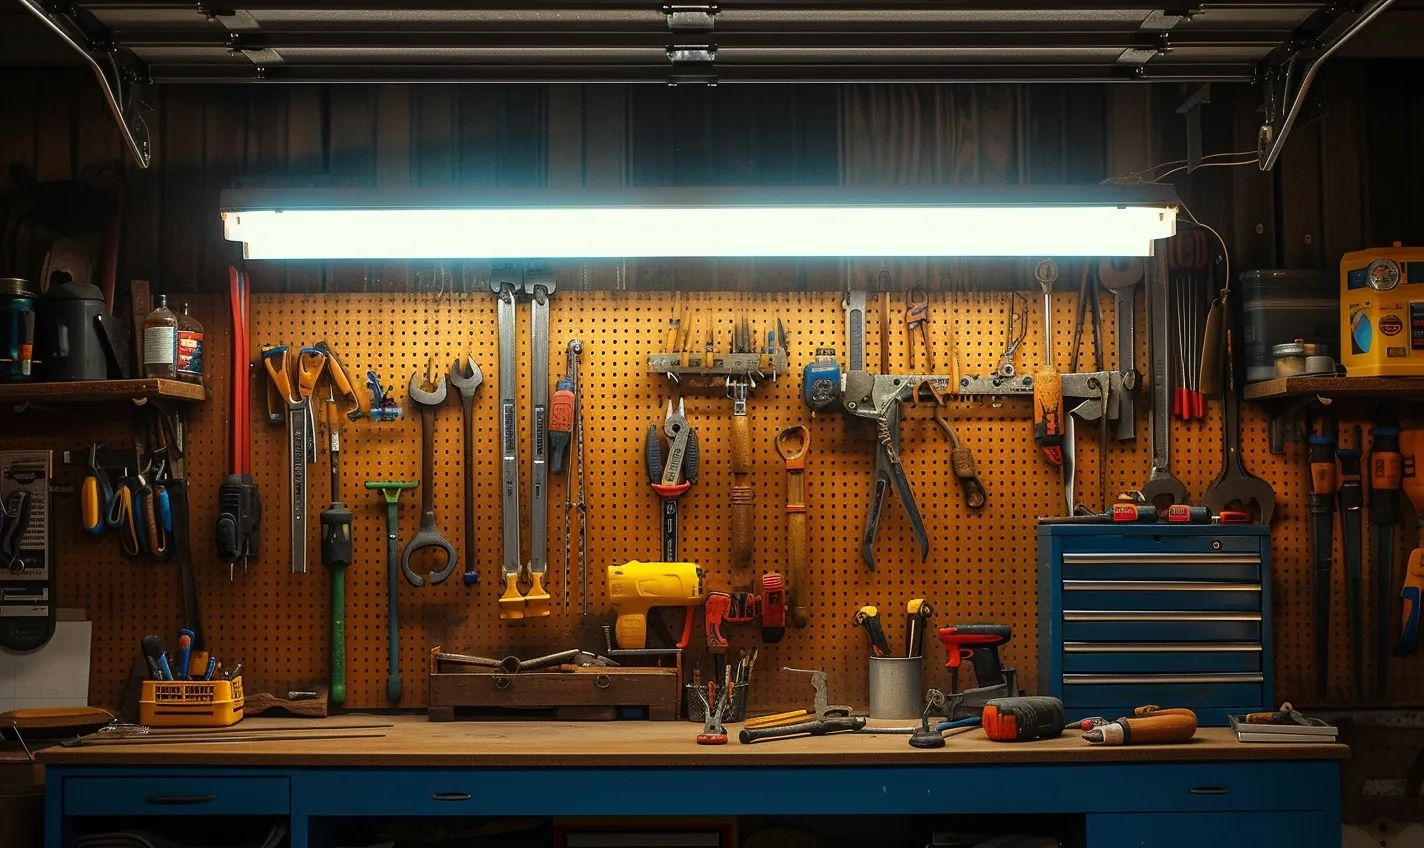
Additional Tools for Convenient Installation
Having the right tools can make installing garage lighting much smoother and more convenient. In addition to the essential power tools, measuring and marking tools, wiring tools, safety equipment, and access equipment, additional tools can further simplify the installation process. These tools are designed to help you work efficiently and achieve professional-looking results.
Wire Cutters and Strippers
Wire cutters and strippers are essential for trimming and preparing electrical wires during installation. These tools make it easy to cut wires to the desired length and remove the insulation for secure connections.
Wire Connectors
Wire connectors, also known as wire nuts, join two or more wires. They provide a secure and insulated connection, ensuring the electrical connections are safe and reliable. Make sure to choose wire connectors compatible with the gauge of wires you are working with.
Cable Staples or Clips
To keep your wiring neatly in place and prevent it from becoming a tripping hazard, cable staples or clips can be used to secure the wires to the walls or ceilings of your garage. This will provide a clean and tidy appearance while ensuring the safety of your electrical connections.
Power Drill and Bits
A power drill with the appropriate drill bits is handy for mounting light fixtures and other accessories to the walls or ceiling of your garage. Whether you need to drill pilot holes for screws or create larger holes for mounting brackets, a power drill will save you time and effort.
Wire Fishing Tools
Wire fishing tools can be beneficial if you route electrical wires through walls or ceilings. These tools, such as fish tapes or wire snakes, allow you to easily guide wires through tight spaces, ensuring a clean and professional installation.
Adding these tools to your toolbox will equip you to handle any challenges during your garage light installation project. Remember, investing in high-quality tools is a worthwhile investment as they will make the installation process more convenient and ensure the longevity and safety of your lighting system.
Proper Storage and Organization of Tools
When it comes to garage light installation, having the right tools is essential. But it’s equally important to keep your tools organized and easily accessible. Proper storage and organization of your tools saves you time and frustration and ensures their longevity. Here are some tips to help you maintain a clutter-free and efficient workspace:
Categorize and Sort
Start by categorizing your tools based on their function. Group similar tools together, such as screwdrivers, pliers, wrenches, etc. This allows you to find what you need quickly and prevents any mix-ups. Once you’ve categorized your tools, sort them by size or type and decide on the best storage solutions for each category.
Invest in Quality Storage Solutions
Investing in quality storage solutions is worth every penny. Consider purchasing a sturdy toolbox or tool chest to store your handheld tools. These provide ample space and compartments to keep your tools organized and protected from dust and moisture. For more extensive power tools, shelving units or wall-mounted racks are ideal for saving space and keeping them easily accessible.
Utilize Hanging Systems
Take advantage of hanging systems to maximize your storage space. Wall-mounted pegboards or hooks are great for hanging tools with handles, such as hammers and wrenches. Magnetic strips can securely hold metal tools such as pliers, screwdrivers, and drill bits. By utilizing hanging systems, you free up valuable floor and drawer space.
Label and Identify
Labels play a crucial role in keeping your tools organized. Invest in a label maker or use adhesive labels to mark the storage locations for each tool category. This makes it easier to remember where things belong and ensures everything is returned to its designated spot after use.
Maintain Regular Maintenance
Proper maintenance of your tools is just as essential as organizing them. Regularly clean and inspect your tools for any signs of wear, rust, or damage. Replace any worn-out or broken tools to ensure your safety and work efficiency.
Create a Safe Environment
Lastly, maintaining a safe environment in your garage is crucial. Keep your workspace clean and free from clutter to prevent accidents. Store sharp tools in sheaths or cases to avoid injuries. By prioritizing safety, you can focus on the task and complete your garage light installation project with peace of mind.
By following these tips and investing a little time in organizing your tools, you can make your garage light installation process more enjoyable and efficient. Not only will you save time searching for the right tools, but you’ll also be able to extend their lifespan and work more safely. So, start organizing your tools today and experience the benefits firsthand!
Tips for a Smooth and Successful Garage Light Installation Project
Installing new lighting in your garage can drastically improve the functionality and safety of the space. However, to ensure a smooth and successful project, it is essential to have the right tools and follow proper installation techniques. Here are some helpful tips to guide you:
Plan and prepare:
Before starting the installation, take the time to plan out the layout of your new lighting. Consider factors such as the size and shape of the garage, the areas that need the most illumination, and any existing electrical connections. Gather all the necessary tools and materials to minimize interruptions during the installation process.
Turn off the power:
Electrical safety is paramount when working on any lighting project. Begin by turning off the power to the area where you will install the new lights. Switching off the circuit breaker is the safest way to ensure no live electricity flows during the installation.
Use proper wiring techniques:
When connecting your new lights to the electrical system, follow the manufacturer’s instructions and use the proper wiring techniques. Avoid using unnecessary extension cords or overloading circuits, which can lead to electrical hazards.
Ensure secure mounting:
Properly mounting your new lights is crucial for their stability and longevity. Make sure to use the appropriate hardware and follow the manufacturer’s guidelines for installation. This will prevent accidents or damage caused by loose or incorrectly secured lights.
Test the lights:
Before wrapping up the installation, always test the lights to ensure they function correctly. This will allow you to identify potential issues or defects early on and make necessary adjustments or replacements.
Keep safety in mind:
Prioritize safety Throughout the installation process. Wear appropriate protective equipment, such as goggles and gloves, to protect yourself from hazards. Ensure all electrical connections are insulated to prevent electric shocks or short circuits.
Seek professional assistance if needed:
If you do not feel confident or comfortable handling electrical projects, it is best to seek professional assistance. Hiring a licensed electrician will ensure your garage light installation is performed safely and up to code.
Following these tips and taking the necessary precautions can ensure a smooth and successful garage light installation project. Remember always to prioritize safety and consult professionals when needed. Enjoy your new, well-lit, and functional garage!
Conclusion
In conclusion, suitable garage light installation tools are essential for safety and efficiency. Investing in these must-have tools ensures your lighting installation project goes smoothly and successfully.
One of the most essential tools you’ll need is a voltage tester. This tool will allow you to double-check that the power is off before working on any electrical connections, keeping you safe from potential hazards. Additionally, a wire stripper will be crucial for removing the insulation from wires and making proper connections.
A good quality screwdriver set is also essential, as you will need various sizes and types to secure fixtures and make adjustments. A drill with the appropriate drill bits will come in handy for drilling holes for mounting brackets or fixtures. Additionally, having a tape measure and level will ensure that your lights are evenly spaced and aligned correctly.
Furthermore, it’s essential to invest in a ladder or step stool that is sturdy and provides the necessary height for reaching light fixtures. This will make the installation process more accessible and help prevent accidents caused by standing on unstable objects.
These essential tools allow you to complete your garage light installation safely and efficiently. Always prioritize safety, follow the manufacturer’s directions, and consult a professional if unsure about any installation process. You’ll enjoy a well-lit, functional garage space with the right tools and precautions.
Frequently Asked Questions (FAQs)
-
Q: What are the essential tools needed for garage light installation?
A: The essential tools for garage light installation include a ladder, wire cutters, wire strippers, electrical tape, wire connectors, a voltage tester, a screwdriver, and a drill.
-
Q: Why do I need a ladder for garage light installation?
A: A ladder is necessary to reach the ceiling or other high areas where the garage lights will be installed. It ensures your safety and gives you proper access to install the lights.
-
Q: What is the purpose of wire cutters and wire strippers?
A: Wire cutters are used to cut the electrical wires to the desired length, while wire strippers are used to remove the insulation from the wire ends before connecting them.
-
Q: Why is electrical tape essential for garage light installation?
A: Electrical tape is used to insulate and protect the exposed wires after they have been connected. It helps prevent electrical shocks and ensures the safety of the electrical connections.
-
Q: What are wire connectors, and why are they needed?
A: Wire connectors, also known as wire nuts, are used to securelynect the electrical wires. They provide a safe and reliable connection, ensuring the cables do not lose over time.
-
Q: Why is a voltage tester necessary for garage light installation?
A: A voltage tester checks if electrical wires or connections are live or energized. This helps ensure you work with a safe and stable electrical supply before installing.