Welcome, fellow DIY enthusiasts and handy individuals, to our comprehensive guide on building your workbench for your garage. As an expert in woodworking and garage organization, I am excited to share the step-by-step process of creating a functional and sturdy workbench that will undoubtedly become the centerpiece of your workspace.
A well-designed workbench in your garage is essential for anyone who loves to tinker, build or needs a dedicated project space. Whether you’re a seasoned carpenter or a novice DIYer, this guide is tailored to help you create a customized workbench that suits your needs and fits perfectly in your garage.
From selecting suitable materials and tools to assembling the workbench with precision and care, each step in this tutorial empowers you to create a practical and efficient workspace. Building your workbench will save you money, but you’ll also be satisfied working on a project that enhances your garage’s functionality and organization.
Join me on this rewarding journey as we dive into the DIY garage workbench-building world world. Let’s roll up our sleeves, grab our tools, and create a workbench demonstrating your craftsmanship and ingenuity.
Introduction
Hey there, DIY enthusiasts! Are you ready to roll up your sleeves and embark on an exciting project in your garage workshop? Get ready to dive into our comprehensive DIY Garage Workbench Building Guide to help you create a sturdy and functional workbench that will envy all your neighbors!
Gathering Materials and Tools
Before you begin, ensure you have all the necessary materials like wood planks, screws, a drill, a saw, measuring tape, and a level. Having everything at hand will save you time and frustration during the building process.
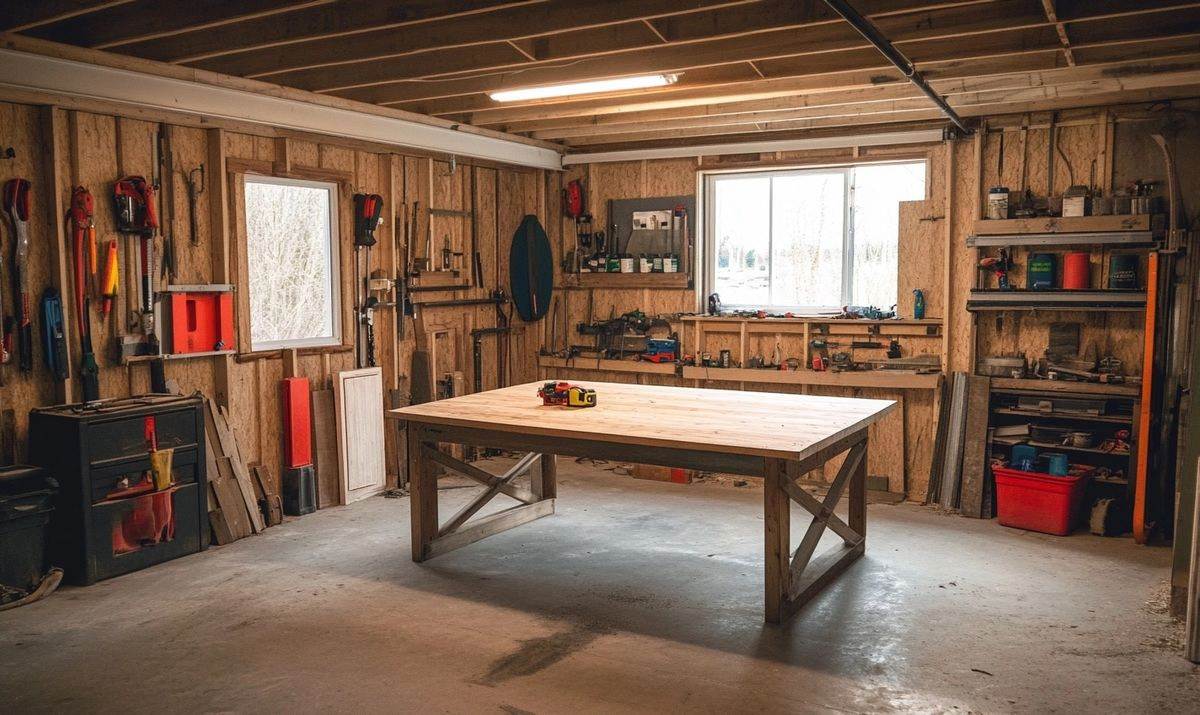
Choosing the Right Location
Consider the garage layout and choose a spot that offers enough space for your workbench, ensuring you have ample room to maneuver around it. It should also be positioned near electrical outlets for convenience.
Measuring and Planning
Measure twice, cut once! Accurately measure your workspace and plan the dimensions of your workbench accordingly. This step is crucial to ensure a perfect fit and maximize functionality.
And remember, a well-built workbench is not just a piece of furniture but a partner in your DIY adventures. So, get ready to craft, create, and conquer with your handmade workbench!

Gathering Materials and Tools
Let’s dive into the fun part of your DIY Garage Workbench Building Guide – gathering all the materials and tools you need for this exciting project! Remember, having everything you need on hand will make the building process smoother and more enjoyable.
Materials
First things first, let’s talk about the materials you’ll need. Head to your local hardware store or shop online to stock up on:
- 2×4 lumber: Sturdy and affordable, perfect for framing.
- Plywood sheets: Ideal for the workbench top and shelves.
- Screws: Ensure they are the right size for a secure build.
- Wood glue: To reinforce joints and add stability.
- Level: Essential for ensuring your workbench is even.
- Tape measure: Accurate measurements are crucial.
Tools
Let’s discuss the tools you need to bring your workbench to life. Make sure your toolbox is stocked with:
- Power drill: For drilling pilot holes and driving screws.
- Saw: A circular saw or handsaw for cutting lumber to size.
- Clamps: Keeping pieces in place while you work.
- Screwdriver set: Both flathead and Phillips head for various screws.
- Sander: Smooth out rough edges for a professional finish.
With your materials and tools, you’re all set to embark on this exciting DIY journey. Get ready to roll up your sleeves and channel your inner craftsman as you build your workbench from scratch!
Choosing the Right Location
Now that you’ve gathered all your materials and tools, it’s time to choose the right location for your DIY garage workbench. Like finding the perfect spot for a houseplant to thrive, selecting the ideal location for your workbench is crucial for a seamless and efficient workflow.
Consider the following factors when choosing the right location:
1. Accessibility: You want your workbench to be easily accessible for all your projects. A centralized location in your garage ensures you can move around freely.
2. Lighting: Ample natural or artificial light is essential for working on intricate tasks. Consider setting up your workbench near a window or installing overhead solid lights.
3. Ventilation: Working on DIY projects can sometimes lead to fumes or dust. Choose a well-ventilated area to keep the air fresh and ensure your health and safety.
What about nearby power outlets? Having power readily available for any necessary tools or equipment is beneficial. Don’t forget about storage space nearby so you can easily access your tools and supplies.
Measuring and Planning:
Once you’ve picked the perfect spot, it’s time to measure and plan accordingly. Ensure you have enough space for your workbench and factor in any additional storage solutions you may want to include. A clear plan will save you time and effort in the long run.
Preparing the Workspace:
Before building your workbench, prepare your workspace. Clear out the clutter, sweep the floors, and ensure you have a clean and organized area to work in. A clutter-free environment can boost productivity and creativity.
Building the Workbench Frame:
With your workspace ready, it’s time to start building the frame of your workbench. Follow the step-by-step instructions carefully, using the right tools and materials. A sturdy frame is the foundation of a durable and reliable workbench that will support you through countless projects.
Let’s continue the journey of creating your DIY garage workbench.
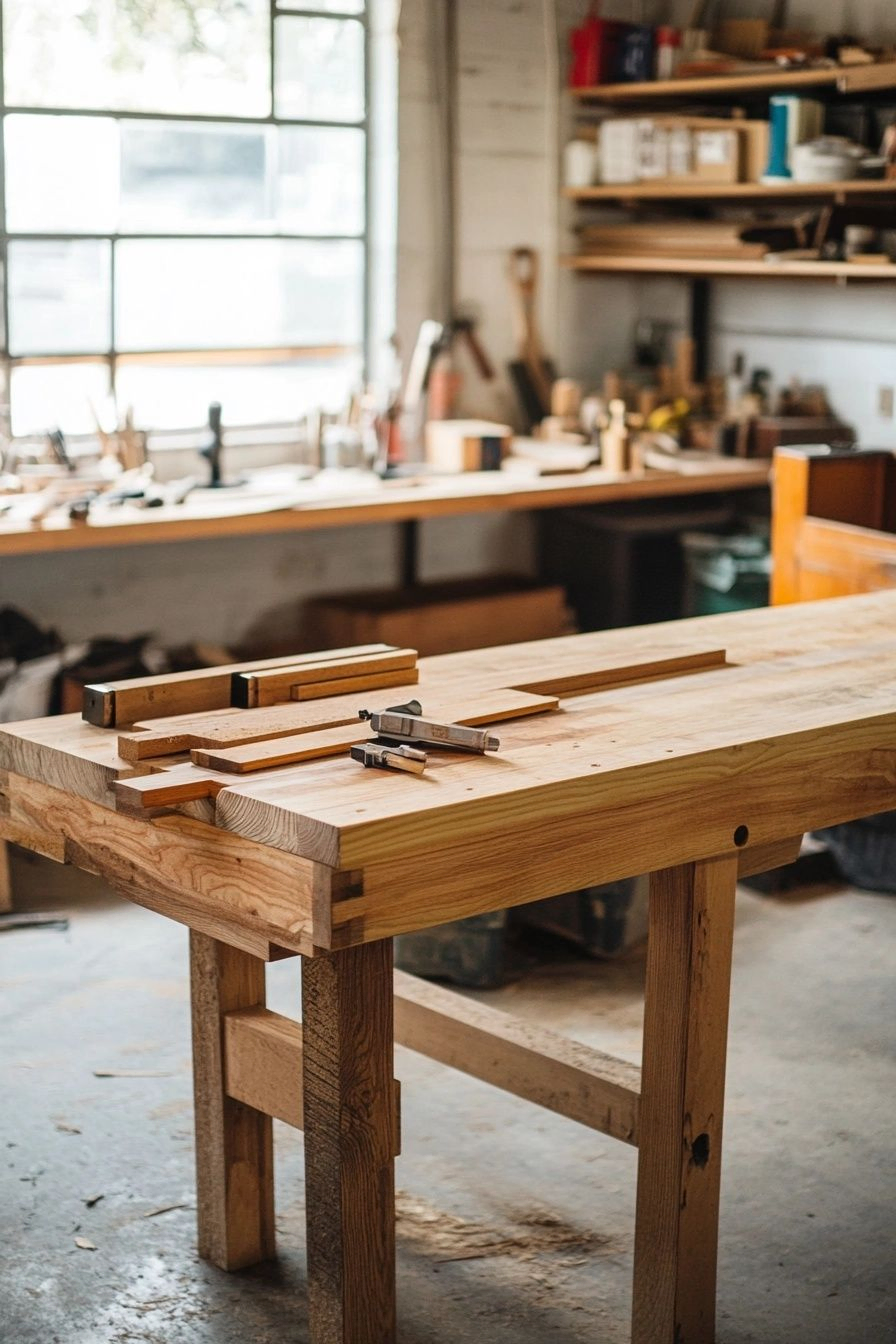
Measuring and Planning
Measurement and planning are crucial before constructing your DIY garage workbench. This initial step will lay the foundation for a successful and functional workbench that fits perfectly in your space.
Measure Twice, Cut Once
Getting the measurements right ensures your workbench fits seamlessly into your garage workshop. Remember the age-old carpenter’s mantra – measure twice, cut once. Precision is key!
Consider Your Needs
Think about the type of projects you typically work on in your garage. Do you need a large, sturdy workbench for heavy-duty projects or a smaller one for more delicate tasks? Your workbench dimensions should align with your specific needs.
Consider the following while measuring and planning your DIY garage workbench:
- Available space in your garage
- Height of the workbench for comfortable use
- Depth and width for ample workspace
Sketch It Out
Grab a pencil and a piece of paper and sketch out a rough design of your ideal workbench. This visual representation will help you map out the dimensions, layout, and additional features you may want to include.
Create a Materials List
Based on your measurements and design, create a comprehensive list of materials and tools you’ll need for the project. This will save you time and trips to the hardware store later on.
Remember, the success of your DIY garage workbench project hinges on proper measuring and planning. Take your time at this stage to ensure a smooth construction process and a workbench that perfectly suits your needs.
Preparing the Workspace
Setting up your garage workshop for building a workbench is crucial to ensure a smooth DIY project experience. Here’s how you can prepare the workspace effectively:
Clearing Out the Clutter
Before you start anything, declutter your garage by removing unnecessary items or tools. A clean workspace will make it easier to move around and work efficiently.
Organizing Tools and Materials
Systematically organize your tools and materials so that everything is easily accessible. Keep similar items together to avoid wasting time searching for what you need.
Creating a Work Zone
Designate a specific area in your garage as your work zone where you’ll build the workbench. This will help you stay focused and prevent distractions from other parts of the garage.
Setting Up Lighting
Ensure your workspace is well-lit to avoid any mistakes or accidents. Consider adding extra lighting fixtures or portable lamps to brighten up the area where you’ll be working.
Improving Ventilation
Good ventilation is essential when working with chemicals or paints. Open windows or use fans to keep the air circulating in your workspace, creating a healthier environment.
By adequately preparing your garage workshop before building your DIY workbench, you’ll set yourself up for a successful and enjoyable project. So, roll up your sleeves, wear your work gloves, and get started!
Building the Workbench Frame
Now comes the exciting part of your DIY Garage Workbench Building Guide – constructing the frame for your workbench! The frame is the backbone of your workbench, providing stability and support for all your future projects.
Gather Your Materials
Before building, ensure you have all the necessary materials and tools. This will help streamline the construction process and prevent any unnecessary interruptions.
- 2×4 lumber for the frame
- Screws or nails for assembly
- Power drill
- Measuring tape
- Safety goggles
Follow These Steps
Building a sturdy workbench frame requires attention to detail and precision. Follow these steps to ensure a solid foundation for your work area:
- Measure and cut the 2×4 lumber to the desired dimensions for the frame.
- Assemble the frame by attaching the pieces using screws or nails.
- Use a level to ensure the frame is straight and even.
- Secure the frame to the wall or floor for added stability.
Why is the Frame Important?
Think of the frame as the skeleton of your workbench. Like a strong skeleton supports your body, a well-built frame will help your projects and tools, ensuring a safe and efficient workspace. Without a sturdy frame, your workbench may wobble or collapse under pressure.
And with your workbench frame in place, you’re one step closer to creating a functional and organized garage workshop. Stay tuned for the next step in our DIY Garage Workbench Building Guide: Adding Shelves or Drawers. But for now, revel in the satisfaction of completing the foundation of your workspace!
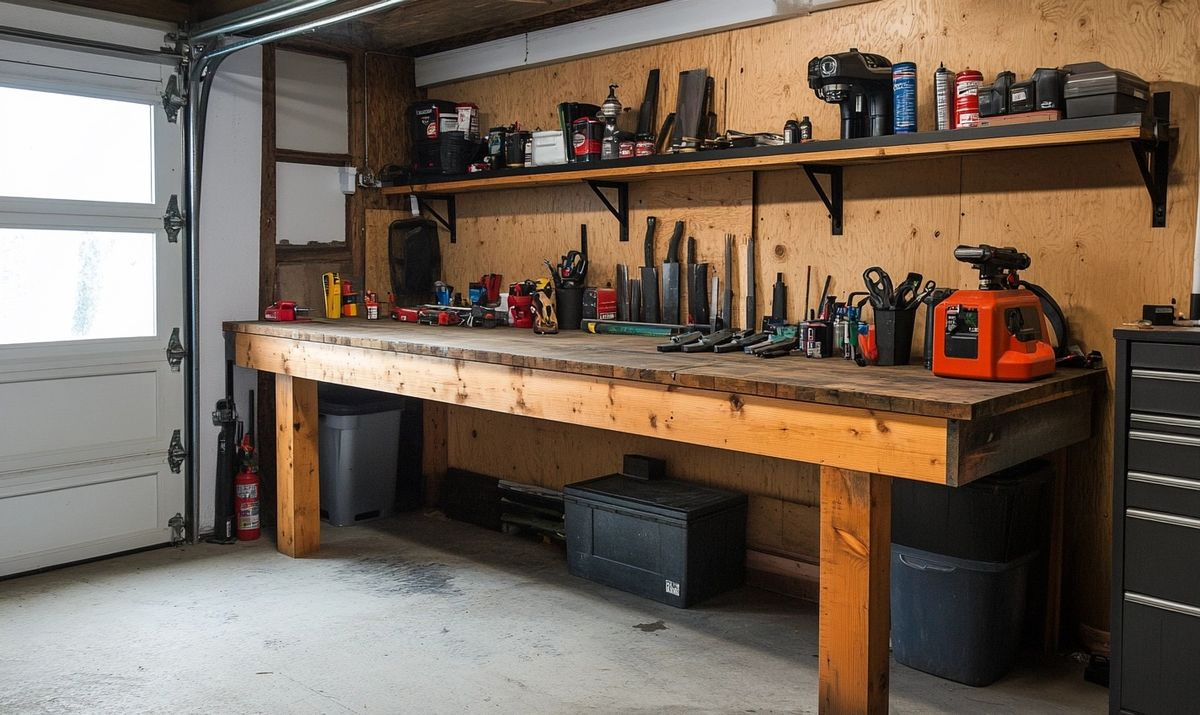
Adding Shelves or Drawers
So, you’ve successfully built the frame of your DIY workbench. Congratulations! But what’s a workbench without some handy storage solutions? Adding shelves or drawers to your workbench will enhance functionality and help you keep your workspace organized and clutter-free. Let’s dive into how you can add these essential elements to your workbench.
Shelving Options:
When it comes to adding shelves to your workbench, you have a few options to consider:
– Floating Shelves: These sleek shelves float on the wall, offering a modern touch to your workbench.
Adjustable Shelving: Choose adjustable shelves if you want the flexibility to customize the height based on your storage needs.
– Built-in Shelves: Maximize space by incorporating built-in shelves directly into the frame of your workbench.
Drawer Designs:
For those who prefer drawers to shelves, here are a few popular drawer designs:
– Tool Chest Drawers: Ideal for storing smaller tools and accessories neatly.
– Deep Storage Drawers: Great for housing bulky items or power tools you want to keep out of sight.
– Sliding Drawers: Convenient for easy access to frequently used tools while working.
But the big question is, how do you install shelves or drawers on your workbench? Well, fear not! Here are some simple steps to guide you through the process:
1. Determine Placement: Decide where you want the shelves or drawers to go and mark their positions on the workbench frame.
2. Secure Brackets: Install sturdy brackets to support the shelves or drawers. Please make sure they are level and securely attached to the frame.
3. Assemble Shelves/Drawers: If you’re using pre-made shelves or drawers, follow the manufacturer’s instructions for assembly.
4. Attach: Once assembled, carefully attach the shelves or drawers to the brackets, ensuring they are level and stable.
5. Test for Stability: Give them a gentle shake to ensure everything is firmly in place before loading them with your tools and supplies.
With shelves or drawers in place, your workbench is now not just a surface for projects but a well-equipped hub for all your DIY needs. Enjoy the satisfaction of a neatly organized workspace ready to tackle any project!
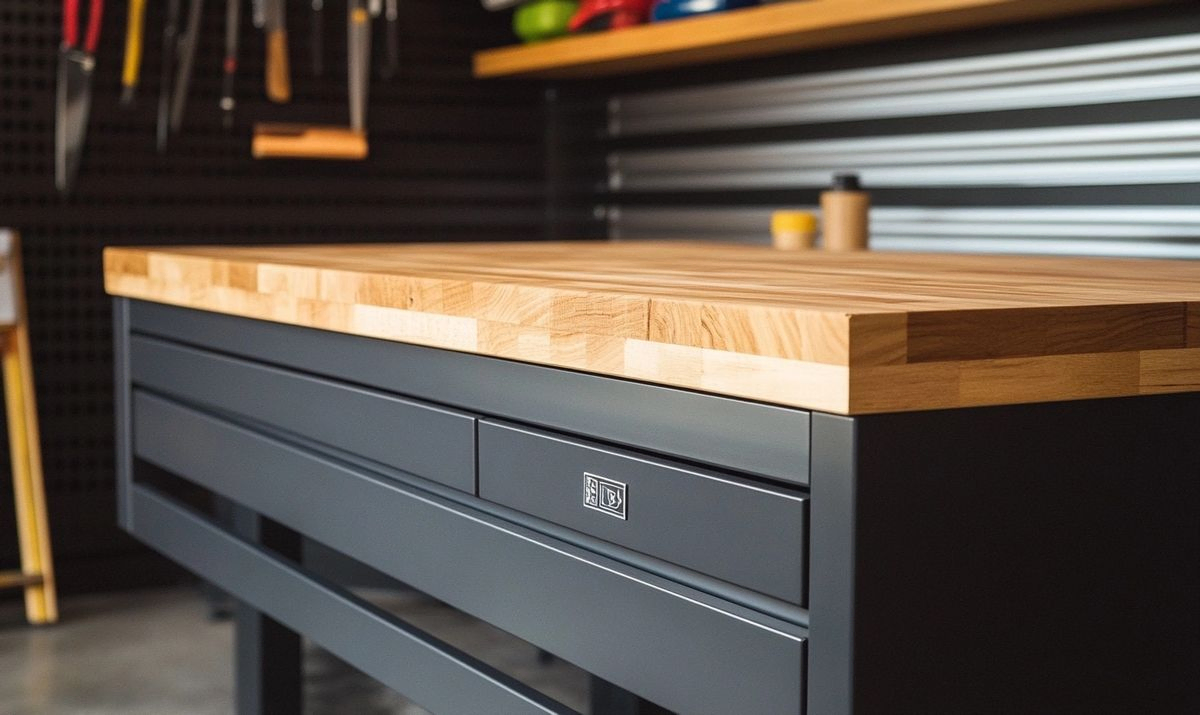
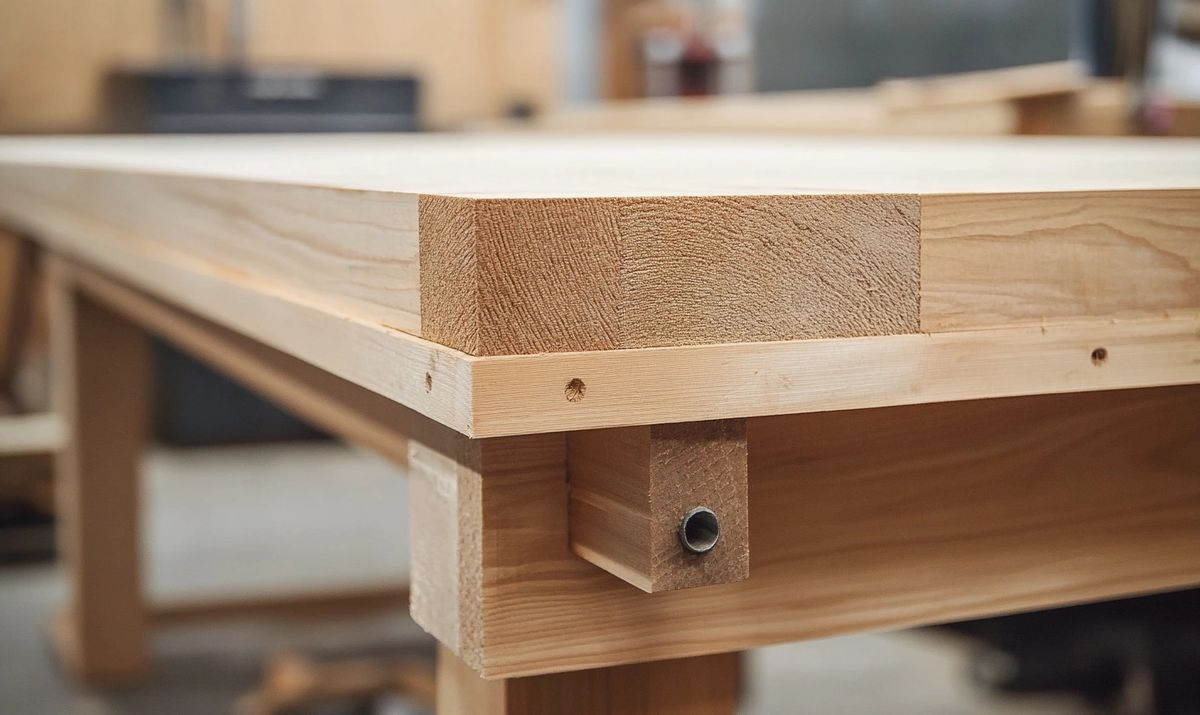
Installing the Worktop
So, you’ve made it to the final step – installing the worktop on your DIY garage workbench. This is where all your hard work pays off, and you get to see the piece come together in full glory. Let’s dive into how to complete this last part of the project!
Securing the Worktop
It’s time to attach the worktop securely after constructing the frame and adding shelves or drawers. Here’s how you can do it:
- Place the worktop on the frame, ensuring it aligns perfectly with the edges.
- Use screws or nails to fasten the worktop to the frame, making sure it’s stable and level.
- Consider adding glue for additional strength and durability.
Finishing Touches
Once the worktop is securely in place, it’s time to add the finishing touches to complete your DIY garage workbench:
- Smooth out any rough edges or surfaces for a polished look.
- If desired, apply a coat of paint or varnish to protect the worktop from wear and tear.
- Consider adding a pegboard or tool organizer to access your tools while working efficiently.
Remember, the workbench is not just a piece of furniture; you’ll spend hours tinkering on projects, fixing things, and creating memories. Make it a space that inspires you and helps you unleash your creativity and productivity.
And there you have it—your DIY garage workbench built from scratch. You can take on any project confidently and efficiently with a sturdy frame, functional shelves, and a reliable worktop.
So, don’t delay any longer. Roll up your sleeves, gather materials, and build your dream workbench today. Your garage workshop will thank you for it!
Applying Finishes
Now that you’ve successfully built your DIY garage workbench, it’s time to add the finishing touches to make it truly shine. Applying suitable finishes enhances the aesthetics of your workbench and protects it from wear and tear over time.
Caring for Your Workbench
As gardeners tend to their plants, you must also nurture your workbench. A well-maintained workbench will serve you faithfully for years to come.
- Regularly clean the workbench surface to prevent dust and debris buildup.
- Inspect the finishes periodically and touch up any areas showing wear.
Choosing the Right Finish
When selecting a finish for your workbench, consider both aesthetics and functionality. Choose a finish that complements your workspace and provides adequate protection.
- Oil-based finishes offer a warm, natural look and are easy to apply.
- Water-based finishes dry quickly and emit fewer fumes, making them ideal for indoor use.
Application Techniques
Applying finishes might seem daunting, but it can be a rewarding experience with the right approach with the right approach. And remember, practice makes perfect!
- Sand the workbench surface before applying any finish to ensure a smooth application.
- Use a brush or cloth to spread the finish evenly across the surface.
- Allow each coat to dry completely before applying the next to achieve a professional look.
Ponder your final vision for your workbench. Picture it standing proudly in your garage, a sturdy companion ready to support you in all your DIY endeavors. With the suitable finishes, it will look great and withstand the tests of time.
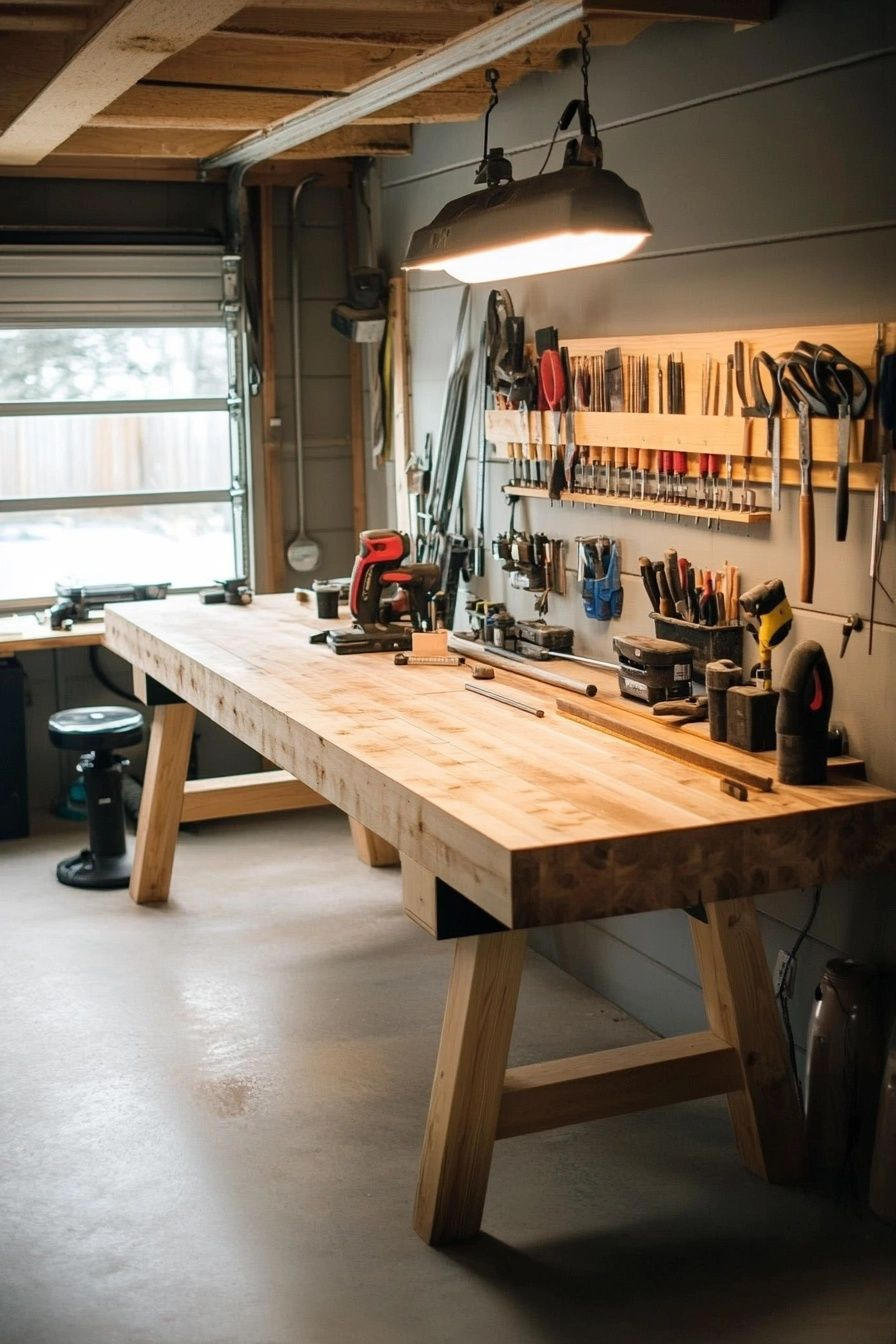
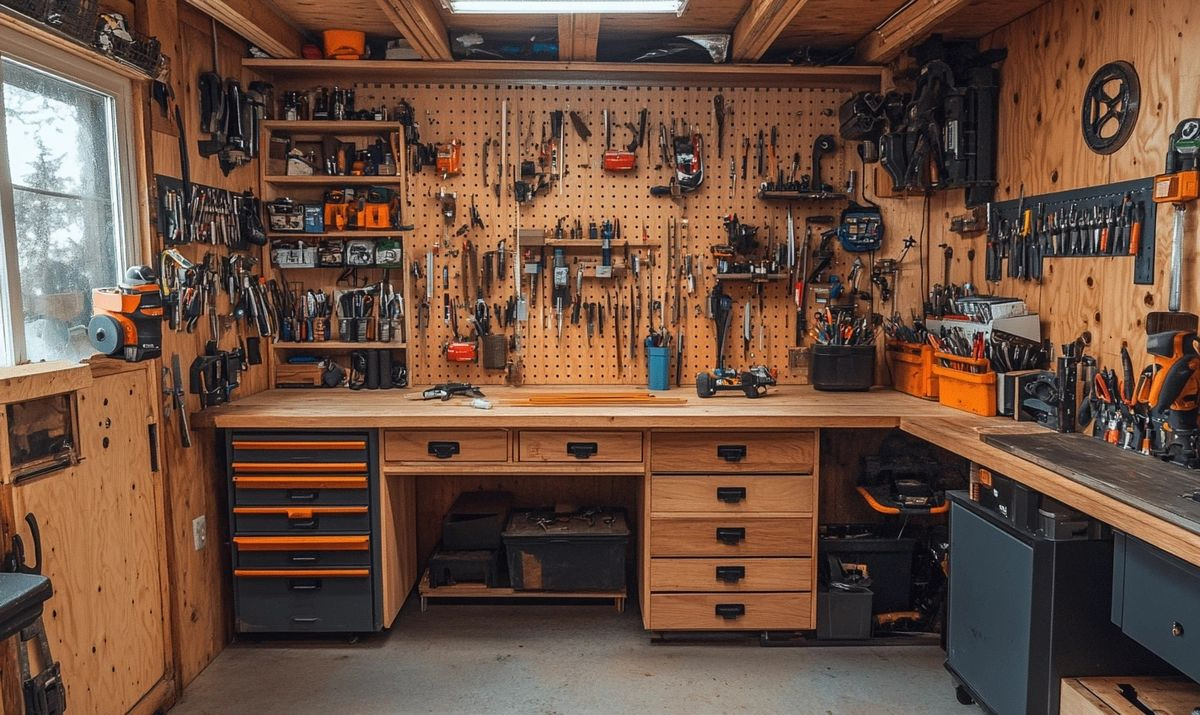
Organizing Your Tools
As DIY enthusiasts, we know the frustration of rummaging through a cluttered pile of tools while working on a project. Organizing your tools is not only about efficiency—it’s about creating a stress-free and enjoyable workspace. Let’s explore some practical tips to keep your garage workshop tidy and your tools easily accessible!
Group Similar Tools Together
Grouping similar tools will make it easier to find what you need quickly. Consider organizing your tools by type or project category.
- Hang your hammers, screwdrivers, and pliers on a pegboard for easy access.
- Keep power tools together on shelves or in designated drawers.
Implement Storage Solutions
Invest in storage containers, bins, or cabinets to keep your workspace clutter-free.
- Label each container for easy identification.
- Use transparent bins to see the contents at a glance.
Create a Workspace Flow
Arrange your tools and workbench in a way that makes sense for your workflow.
Store frequently used tools within arm’s reach while keeping others in designated storage areas.
Some tools must be easily accessible, while others can be stored away until needed.
A well-organized workspace saves time and boosts your productivity and creativity.
Now that your tools are neatly organized, you can focus on your projects without the distractions of a cluttered workspace. Simplify your DIY experience by creating a system that works for you, making your garage workshop a place of inspiration and innovation. But keep in mind that organization is an ongoing process, so set aside time regularly to maintain order in your dream garage workshop!
Maintaining Your DIY Workbench
Maintaining your DIY workbench is crucial to ensure its longevity and functionality. A few simple steps can keep your workspace in shape, making your projects more enjoyable and efficient.
Regular Cleaning and Inspection
Just like any other tool, your workbench needs care and attention. Cleaning it regularly with a damp cloth and mild soap can prevent dust and debris buildup. Inspecting for loose screws or wobbly joints ensures stability during your projects.
Protecting the Work Surface
The worktop is where all the action happens. Consider using a workbench mat or a layer of transparent adhesive film to protect it from scratches, stains, and damage. Not only does this safeguard your surface, but it also provides a comfortable cushion for delicate projects.
Applying Protective Finishes
To prolong the life of your workbench, apply a protective finish such as polyurethane or varnish. This adds a professional look to your workspace and creates a barrier against moisture, scratches, and general wear and tear.
Organizing Tools and Supplies
Organizing your tools and supplies minimizes clutter on your workbench. Use pegboards, shelves, and drawers to store items within easy reach. A well-organized workspace boosts productivity and enhances your overall DIY experience.
Preventing Rust and Corrosion
Rust can be a workbench’s worst enemy. To prevent this, ensure your tools and hardware are dry before storing them. Consider using rust-resistant coatings on metal surfaces and storing your tools in a dry environment to avoid corrosion.
Implementing these simple maintenance tips ensures that your DIY workbench remains in top condition and ready to tackle any project. Remember, a well-maintained workbench is not just a piece of furniture but a reliable companion in your creative endeavors.
Conclusion
Congratulations! You’ve completed your DIY garage workbench building project and created a functional space to tackle your projects easily. By following this step-by-step tutorial, you have saved money and customized your workbench to meet your specific needs.
Remember, organization is vital in any workshop, so keep your workbench clutter-free by using storage solutions like shelves, pegboards, and drawers. This will not only make your workspace more efficient but also safer.
As you start using your new workbench, take the time to appreciate the craftsmanship and effort you put into building it. Whether you’re a woodworking enthusiast, a car enthusiast, or someone who loves DIY projects, having a sturdy workbench will make your tasks more enjoyable and productive.
Remember to share your workbench-building experience with others and inspire them to create their custom workspaces. With the right tools, materials, and patience, anyone can build a high-quality workbench that will become the heart of their garage workshop.
Frequently Asked Questions (FAQs)
Q: What materials do I need to build a DIY garage workbench?
A: To build a DIY garage workbench, you will typically need materials such as lumber, plywood, screws, drill, saw, measuring tape, and a workbench plan.
Q: How tall should a garage workbench be?
A: The standard height for a workbench is around 34-36 inches, but it can be adjusted based on your height and preferences for comfortable working.
Q: Are there any specific tools required to build a garage workbench?
A: Yes, to build a garage workbench efficiently, you will need essential tools like a drill, circular saw, measuring tape, clamps, and a level.
Q: Can I customize the size and design of my DIY garage workbench?
A: Absolutely! You can tailor your workbench’s dimensions, shelving, and features to suit your specific needs and available garage space.
Q: How long does building a DIY garage workbench typically take?
A: The time it takes to build a workbench can vary based on your experience and the complexity of the design, but it usually ranges from a few hours to a day.
Q: Is it cost-effective to build a garage workbench myself?
A: Yes, building a DIY workbench can be cost-effective. You can choose budget-friendly materials and customize the design without the added expenses of a pre-made workbench.