Welcome, fellow DIY enthusiasts! Are you ready to transform your garage into a sleek, functional space with a brand-new flooring installation? The garage floor is often overlooked, but you can easily elevate its look and durability with the right tips and techniques.
Proper preparation is vital when it comes to DIY garage flooring. From selecting the correct type of flooring material to prepping the surface, each step plays a crucial role in the success of your project. By following these expert tips, you can achieve professional-looking results without breaking the bank.
One essential tip is to thoroughly clean and degrease the concrete floor before starting the installation process. Any dirt, oil, or existing coatings can prevent the new flooring from adhering correctly. A clean surface not only ensures a smooth installation but also promotes the longevity of your garage floor.
Additionally, it is paramount to select the appropriate flooring material based on your needs. Whether you opt for epoxy coatings, interlocking tiles, or rubber mats, consider factors such as durability, ease of maintenance, and the intended use of your garage. Each material has its benefits, so choose wisely to suit your preferences.
Choosing the Right Garage Flooring Material
So, you’ve decided to give your garage floor a makeover. The first step to a stunning garage floor is choosing suitable materials. With a plethora of options available, this decision can be overwhelming. Let’s break it down and find the perfect fit for your DIY project.
Vinyl Flooring
If you’re looking for a cost-effective and easy-to-install option, vinyl flooring might be the way to go. It’s durable, resistant to stains, and offers many designs.
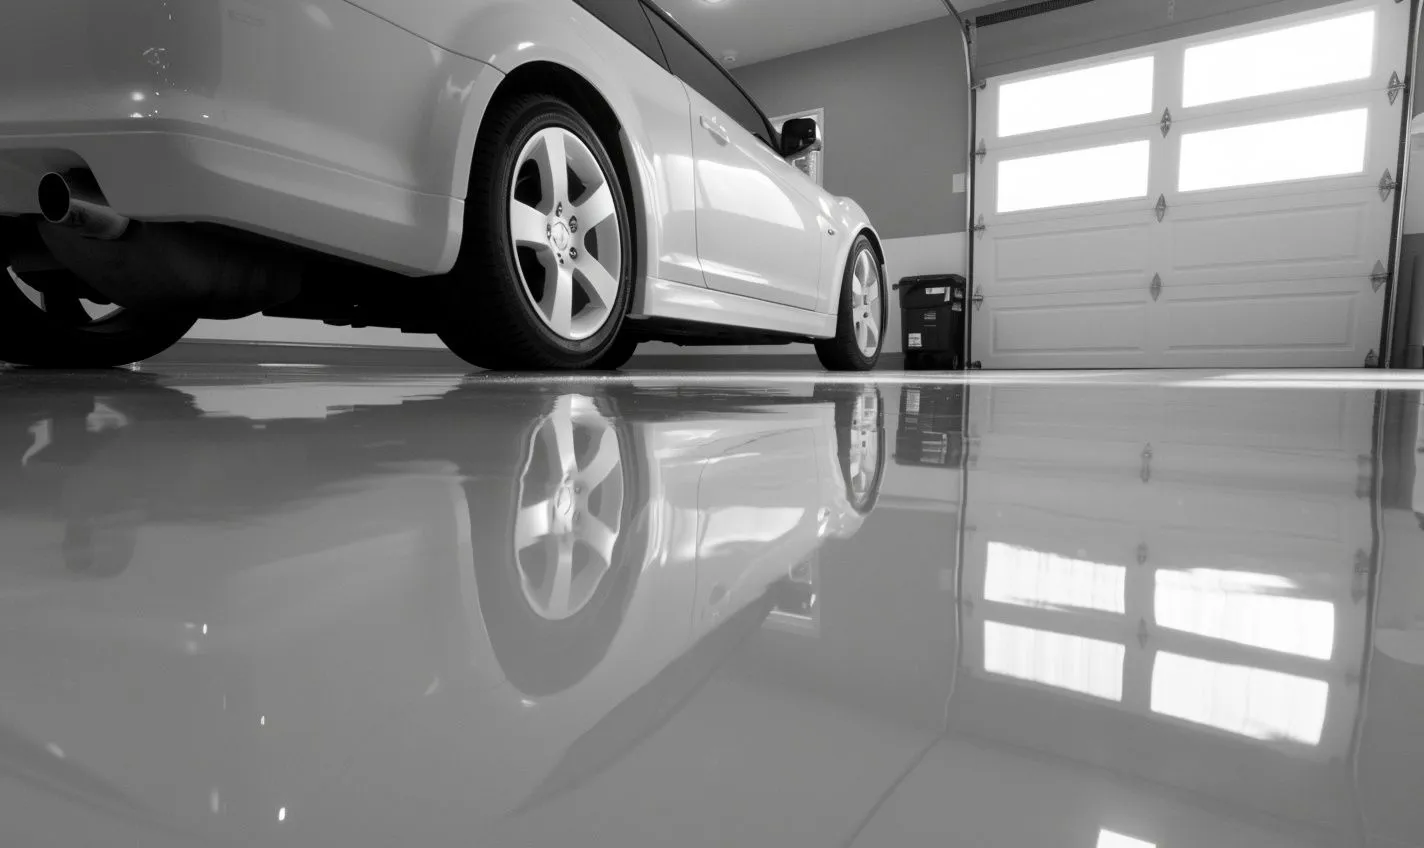
Epoxy Coating
For a more professional and polished look, consider epoxy coating. It provides a high-gloss finish, is resistant to chemicals and abrasions, and is relatively low maintenance.
Interlocking Tiles
Interlocking tiles are perfect for DIY enthusiasts. They come in various materials, such as rubber, PVC, or polypropylene, and can be easily installed without adhesive.
And now, the big question emerges: Which suits your needs, style, and budget best?
Each of these options has its pros and cons. Do you prioritize ease of installation, durability, or aesthetics? Maybe a combination of all three?
Think about how you use your garage. Is it a workshop where heavy tools are dropped, or is it solely for parking your car?
Consider your budget. Are you willing to invest more upfront for long-term benefits, or are you looking for a quick, budget-friendly fix?
It’s like choosing the right pair of shoes. Do you go for the comfortable sneakers, the stylish heels, or the sturdy work boots?
Remember, your garage floor is the foundation of your space. It sets the tone for the entire area, so choose wisely!
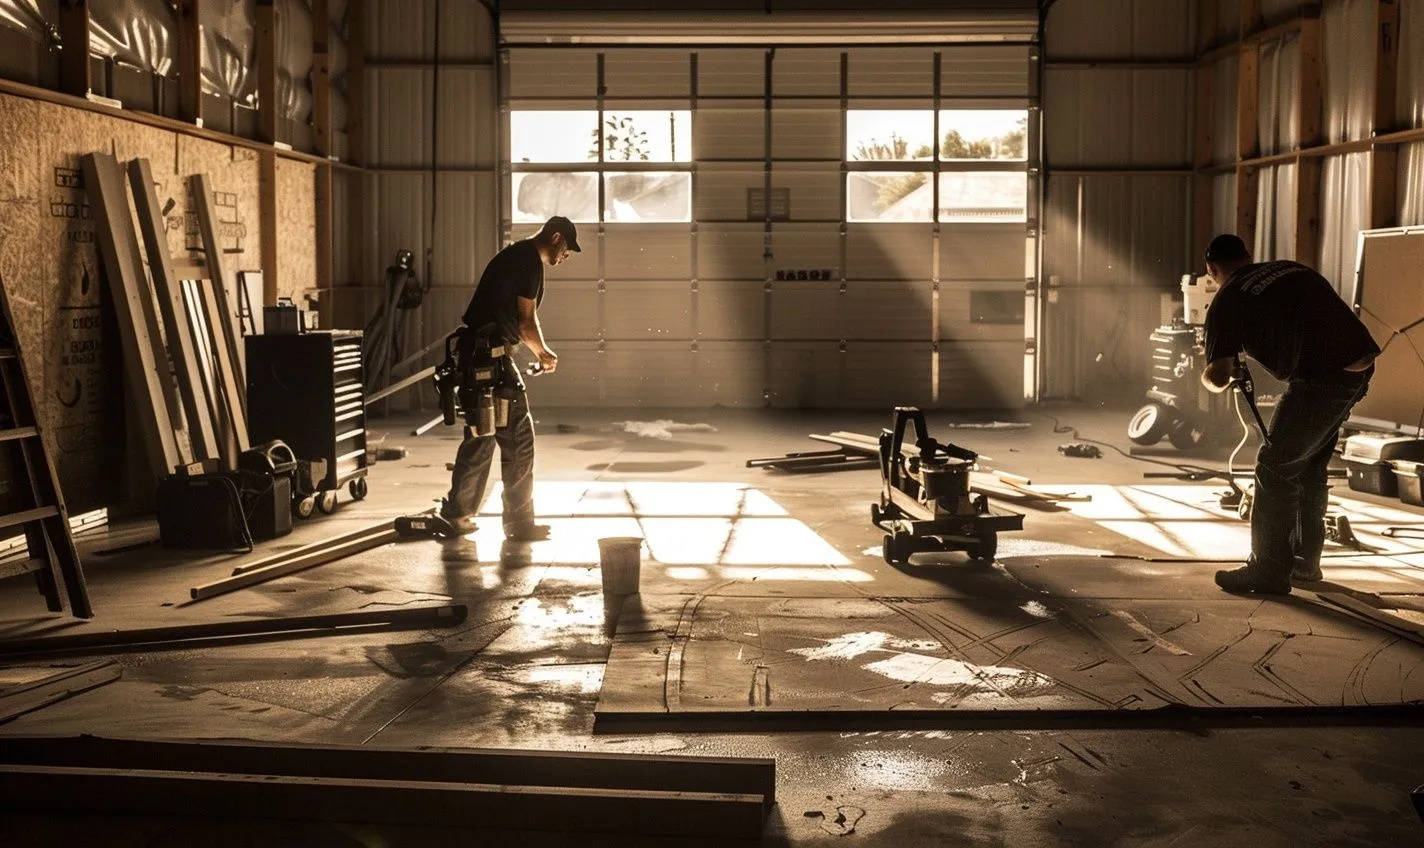
Preparing Your Garage Floor Before Installation
And so, you’ve finally decided to revamp your garage floor and give it a new look. But before diving into the exciting world of DIY garage flooring installation, it’s crucial to ensure your garage floor is prepped correctly to achieve the best results. Here are some essential steps to take before getting started:
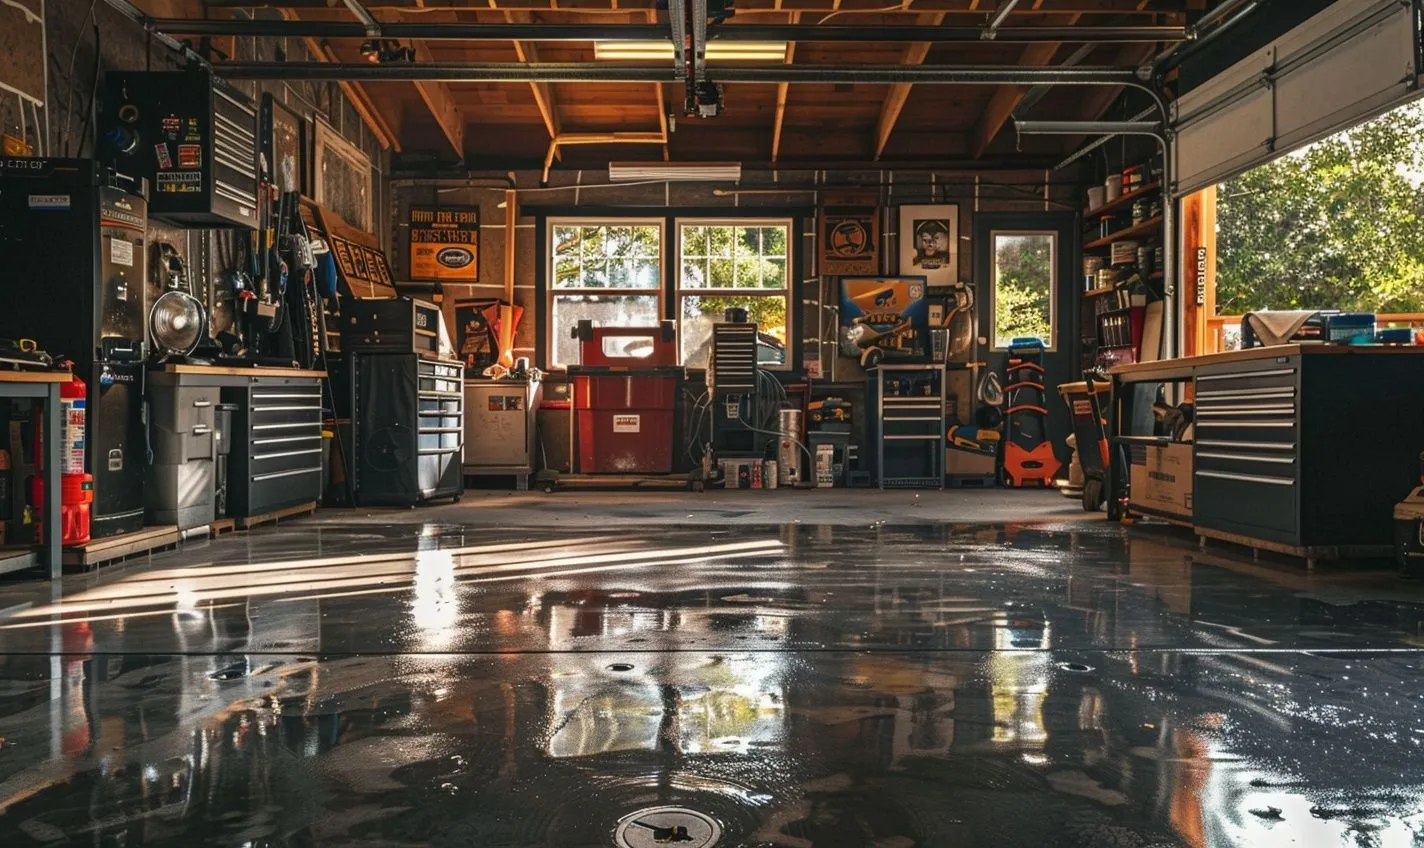
Clear Out Your Garage
Begin by removing all items, vehicles, and clutter from your garage. You’ll need a clean and empty space to work efficiently and prevent any hindrances during installation.
Clean and Inspect the Floor
Clean your garage floor thoroughly to remove dirt, dust, and stains. Inspect the surface for cracks, pits, or other damages that may need to be repaired before installing the new flooring.
Repair and Level the Surface
Fill in any cracks or holes in the concrete floor using a high-quality crack filler or patching compound. Ensure the surface is level and smooth to provide a stable base for your new flooring.
Etch or Acid Wash the Floor
Consider etching or acid washing the concrete surface to promote better adhesion of the new flooring material. This process helps remove any existing sealers or contaminants that could interfere with the bonding of the new flooring.
These simple yet crucial steps for your garage floor will prepare you for a successful DIY flooring installation project. Remember, proper preparation is critical to achieving long-lasting and professional-looking results.

Gathering the Necessary Tools and Materials
Embarking on a DIY garage floor installation project can be a fulfilling journey, but ensure you have all the essential tools and materials before diving in. Just like a chef needs the right ingredients to whip up a delicious dish, you need the proper tools and materials to create a durable and visually appealing garage floor that will stand the test of time.
Tools You’ll Need:
- Measuring Tape: For accurate dimensions.
- Chalk Line: To create straight guidelines.
- Level: Ensures a flat surface.
- Utility Knife: For cutting materials.
- Safety Gloves and Goggles: Protect yourself during the installation process.
Materials Required:
- Garage Flooring Material: Choose between interlocking tiles, epoxy coating, or other options based on your preferences.
- Primer or Adhesive: Necessary for certain flooring types.
- Cleaner and Degreaser: Prepare the floor surface properly.
- Sealer: Protects the floor from stains and damage.
Remember, each tool and material plays a vital role in the success of your project. Like a painter needing the right brushes and paints to create a masterpiece, you need the right tools for a flawless garage floor.
So, before you start, take stock of what you have and need. Missing even one tool or material can derail your progress and lead to frustration. But with everything at hand, you’ll feel confident and prepared to tackle the task.
Get ready to transform your garage into a space that looks fantastic and serves its purpose effectively. With the right tools and materials, you’re one step closer to achieving a professionally finished garage floor that reflects your DIY prowess.
How to Measure and Plan for Your Garage Floor Installation
Embarking on a DIY garage flooring project can be exciting yet daunting. Before diving in, taking the time to measure and plan properly will set you up for success.
Begin with the Basics
Before purchasing materials, take a moment to assess your garage’s size and layout. Grab a tape measure, pencil, and paper, and follow these simple steps:
- Measure the length and width of your garage to determine square footage.
- Consider any unique features affecting flooring installation, such as posts, steps, or corners.
- Check for any cracks, uneven surfaces, or moisture issues that need addressing beforehand.
Account for Wastage and Design
It’s wise to factor in extra for cutting, mistakes, and pattern design when ordering materials. Nothing is worse than running out mid-project! Remember:
- Order 10-15% more material than your measured square footage to avoid shortages.
- Think about your desired aesthetic—diagonal or herringbone patterns may require more material.
- Consider color choices and how they may impact the perception of space and lighting in your garage.
Creating a Detailed Plan
Once you have your measurements and materials ready, it’s time to create a detailed action plan. Prepare by:
- Sket your garage size and layout on graph paper for a visual aid.
- Deciding where to start and how to work around obstacles for a seamless installation process.
- Labeling sections for different materials or patterns if you are mixing flooring types.
Remember, a well-thought-out plan can save you time, money, and headaches. With these DIY flooring installation tips for garages, you’ll be well on your way to the garage of your dreams.
Step-by-Step Guide to Installing Interlocking Garage Floor Tiles
Gathering the Necessary Tools and Materials
To embark on your garage floor transformation journey, you’ll need a few essential tools and materials:
- Interlocking garage floor tiles
- Rubber mallet
- Utility knife
- Straight edge
- Measuring tape
How to Measure and Plan for Your Garage Floor Installation
Before diving into the installation process, it’s crucial to measure your garage floor space:
- Measure the length and width of your garage
- Calculate the total square footage for accurate tile ordering
Tips for Installing Interlocking Garage Floor Tiles
Now comes the exciting part – installing the interlocking garage floor tiles:
- Start from one corner and work your way across
- Interlock the tiles securely using a rubber mallet
- Trim the tiles to fit the edges with a utility knife
- Ensure a snug fit by applying pressure evenly
And remember, precision is critical. Each tile acts like a puzzle piece, creating a seamless surface that looks fantastic and withstands the wear and tear of a busy garage.
Maintaining and Cleaning Your DIY Garage Floor
Once your interlocking garage floor tiles are in place, maintenance is a breeze:
- Sweep regularly to remove debris and dust
- Mop with a gentle floor cleaner for a sparkling finish
- Avoid harsh chemicals that could damage the tiles
But the best part? The pride that comes with completing a DIY project. Your garage floor will be the envy of the neighborhood, a testament to your hard work and dedication.
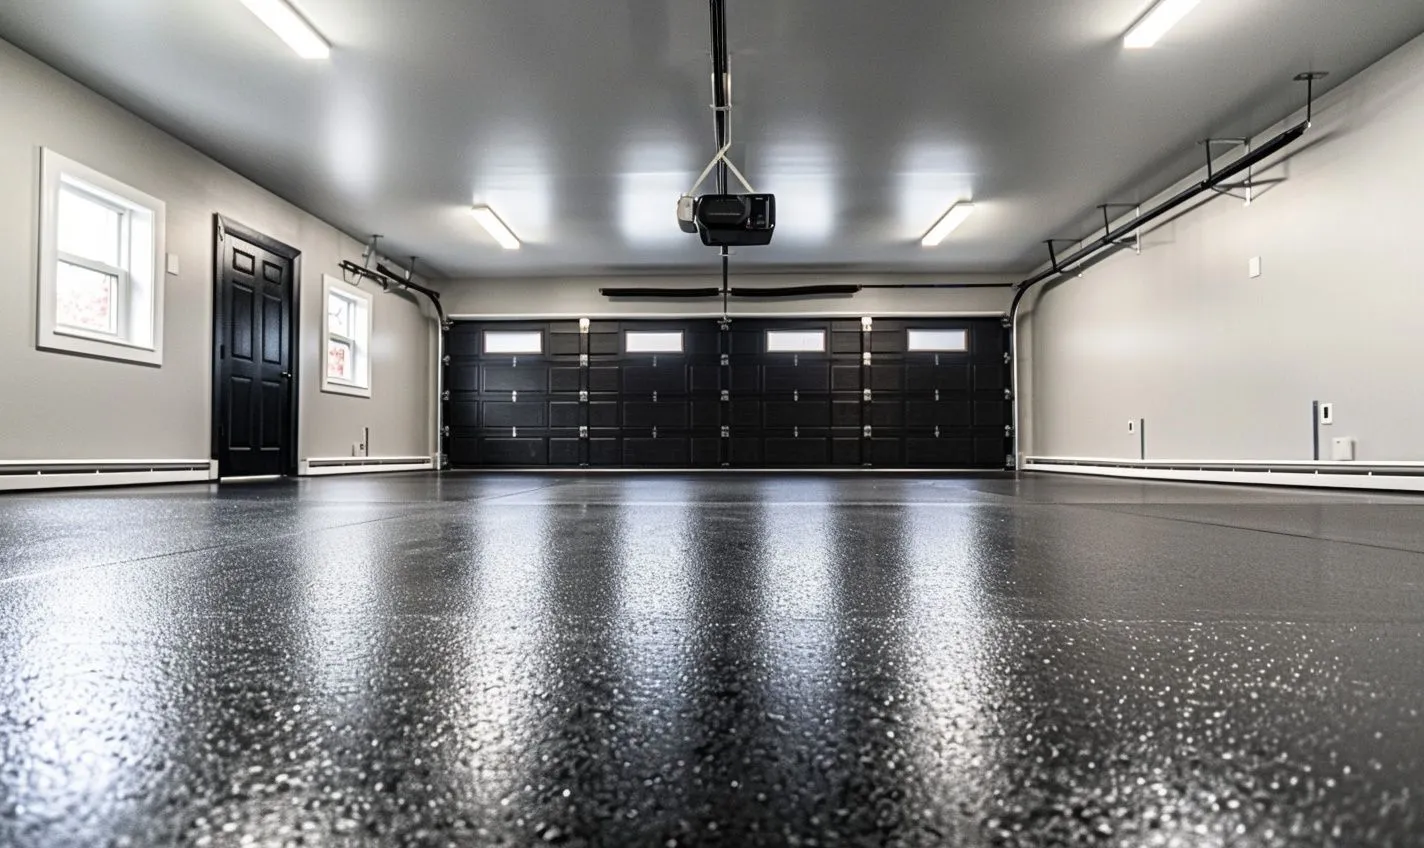
Tips for Installing Epoxy Coating on Your Garage Floor
Transforming your dull garage floor into a durable, visually appealing space doesn’t have to be a daunting task. You can easily revamp your garage floor with epoxy coating with guidance and a can-do attitude. Let’s dive into some handy tips to help you achieve a professional-looking finish:
Thoroughly Clean and Prep the Surface
Before applying epoxy coating, it’s crucial to ensure your garage floor is clean and free of any dirt, oil, or grease. Use a degreaser and scrub brush to remove all contaminants, then etch the surface to allow for better adhesion.
Correctly Mix the Epoxy Solution
Follow the manufacturer’s instructions carefully when mixing the epoxy solution. Proper ratios ensure the coating cures correctly and provides maximum durability. Measure the components precisely for the best results.
Apply the Epoxy Coating in Thin Layers
Remember, applying multiple thin coats of epoxy rather than one thick layer is better. This prevents bubbling and ensures a smooth, even finish. Take your time and allow each coat to dry properly before adding the next layer.
Use Proper Ventilation and Protective Gear
Epoxy coatings can emit strong fumes during application, so working in a well-ventilated area is essential. Additionally, wear protective gear such as a mask and gloves to safeguard yourself from chemicals.
Allow Sufficient Drying Time
Be patient and allow the epoxy coating ample time to cure. To prevent damage, avoid walking or driving on the surface until it’s scorched. Following the recommended drying time is critical to long-lasting results.
Regular Maintenance for Prolonged Lifespan
To ensure your newly coated garage floor remains in top condition, perform regular maintenance like sweeping and mopping to keep it clean. Promptly address any spills or stains to prevent them from causing damage.
By following these simple yet crucial tips, you can achieve a stunning and durable epoxy-coated garage floor that will enhance your space’s overall look and functionality. Transform your garage into a space you’ll be proud to show off!
Ensuring Proper Ventilation and Safety During Installation
While revamping your garage floor with a new DIY solution can be exciting, it’s crucial to prioritize ventilation and safety throughout the installation process.
Why Is Ventilation Important?
Ventilation ensures that harmful fumes and chemicals from the flooring materials dissipate properly, promoting a healthier environment for you and your family. Poor ventilation can lead to respiratory issues and lingering odors.
Critical Tips for Ensuring Proper Ventilation:
- Open Doors and Windows: Before you begin, open all garage doors and windows to allow fresh air to circulate.
- Use Fans: Position fans strategically to help direct fumes towards open doors or windows and accelerate ventilation.
- Wear Protective Gear: Use a respirator mask and gloves to protect yourself from inhaling harmful substances.
Prioritizing Safety Measures:
Safety should always be at the top of your list when embarking on a DIY flooring project. By following some simple guidelines, you can ensure a safe and successful installation process.
- Read Instructions Carefully: Before starting, thoroughly read and understand the manufacturer’s installation instructions to prevent accidents or errors.
- Clear the Area: Remove any obstacles, tripping hazards, or clutter from the workspace to avoid accidents during installation.
- Work Methodically: Take your time and work carefully to avoid injuries or mistakes that could compromise the final result.
Remember, taking the necessary precautions for ventilation and safety may require a bit of extra time and effort, but the peace of mind and well-being of you and your loved ones are well worth it. So, gear up with your safety equipment and ensure proper ventilation before diving into your garage flooring project!
Maintaining and Cleaning Your DIY Garage Floor
Congratulations on completing your DIY garage floor installation! Now that your garage floor looks fresh and revamped, it’s essential to maintain and clean it properly to ensure its longevity and durability.
Tips for Maintenance:
- Regularly sweep or use a leaf blower to remove debris and dust.
- Wipe up oil or chemical spills immediately to prevent stains.
- Please inspect for any cracks or damage and repair them promptly to avoid further issues.
Cleaning Techniques:
Here are some practical ways to clean your DIY garage floor:
- Broom and Mop: Sweep the floor with a broom and then mop using a mild detergent and warm water.
- Pressure Washer: Consider using a pressure washer to deep clean the floor surface for tougher stains.
And what about those pesky tire marks or stubborn stains that seem impossible to eliminate?
But fear not; you can tackle those with baking soda and water, creating a paste to spot-treat the areas. Let it sit briefly, then scrub and rinse for a squeaky-clean finish.
Schedule Regular Maintenance:
Setting up a maintenance schedule for your garage floor can help keep it in top condition. For example, your car needs regular check-ups, and your garage floor needs TLC.
Consider marking your calendar for monthly inspections and cleaning sessions. Prevention and proactive care can go a long way in preserving the beauty of your newly installed garage floor.
By dedicating a little time and effort to maintaining and cleaning your DIY garage floor, you can enjoy a pristine, functional, and aesthetically pleasing space for years to come.
Conclusion
As you wrap up your DIY garage flooring project, remember that proper installation ensures a durable, long-lasting surface. Following the tips and guidelines in this blog post, you are well on transforming your garage into a functional and aesthetically pleasing space.
From preparing the surface and choosing suitable materials to meticulously following installation instructions, each step plays a crucial role in the outcome of your flooring project. Remember to take your time and pay attention to detail to achieve professional-looking results.
By investing your time and effort in the installation process, you can create a space that enhances the overall look of your garage and improves its functionality and durability. A well-installed garage floor can withstand heavy foot traffic, vehicle movement, and various environmental factors for years.
So, don’t hesitate to kickstart your DIY garage flooring installation using the valuable tips outlined in this blog post. With the right tools, materials, and techniques, you can achieve a high-quality finish to make your garage a more enjoyable and efficient workspace.
Frequently Asked Questions (FAQs)
How do I prepare my garage floor for DIY installation?
To prepare your garage floor for DIY flooring installation, clean the surface thoroughly to remove dirt, oil, or grease. Then, using a suitable filler, repair any cracks or imperfections and ensure the floor is smooth and level before proceeding with the installation.
What tools do I need for installing garage flooring?
Some essential tools for DIY garage flooring installation include a tape measure, utility knife, rubber mallet, trowel, and a saw (if cutting is required). Additionally, you may need safety gear like gloves and goggles.
Which type of garage flooring is best for a DIY installation?
For a DIY installation, interlocking garage floor tiles or peel-and-stick vinyl tiles are popular choices. They are easy to install without needing adhesives or special tools and provide a durable, low-maintenance solution.
Is it necessary to apply a sealant after installing garage flooring?
Applying a sealant is recommended after installing garage flooring. It helps protect the surface from stains, chemicals, and moisture and can also enhance the durability and longevity of the flooring material.
How long does it take to complete a DIY garage flooring installation?
The time required to complete a DIY garage flooring installation can vary depending on the size of the garage, the type of flooring material chosen, and the complexity of the installation process. On average, finishing the installation can take a day or two.
Can I install garage flooring over the existing concrete?
You can install garage flooring over existing concrete if the surface is clean, level, and free of significant cracks or damage. Properly preparing the concrete before installation is crucial to ensure the new flooring bonds correctly.